_1732906446.webp)
_1738501363.webp)
_1752850970.webp)
_1752850988.webp)
Cloud_1719315244.webp)
_1731095513.webp)
Classy_1726232333.webp)
_1735706815.webp)
_1752843001.webp)
.webp)
.webp)
.webp)
.webp)
.webp)
_1752850822.webp)

_1752843023.webp)
Cloud_1719315256.webp)
_1752843031.webp)
.webp)
_1732908490.webp)
_1730201518.webp)
_1730201673.webp)
classy-fall_1725711908.webp)
_1735706807.webp)
_1735706824.webp)
.webp)
_1738481985.webp)
_1741375756.webp)
_1732593900.webp)
.webp)
burnt-orange_1725709015.webp)
_1752850978.webp)
.webp)
_1752843006.webp)
_1735706800.webp)
_1732906441.webp)
_1732906442.webp)
_1732593911.webp)
_1732906456.webp)
_1731095410.webp)
_1752850823.webp)


_1741375753.webp)
_1741375761.webp)
_1735706792.webp)
_1732906453.webp)
_1752850873.webp)
_1752850968.webp)
_1752850580.webp)
_1752850628.webp)
_1752843026.webp)
_1752843037.webp)
_1737736220.webp)
Classy_1726232328.webp)
_1730201501.webp)
_1739646341.webp)
.webp)
burnt-orange_1725709060.webp)
_1738481988.webp)
_1752843018.webp)
_1752850869.webp)
_1732906451.webp)
_1732906448.webp)


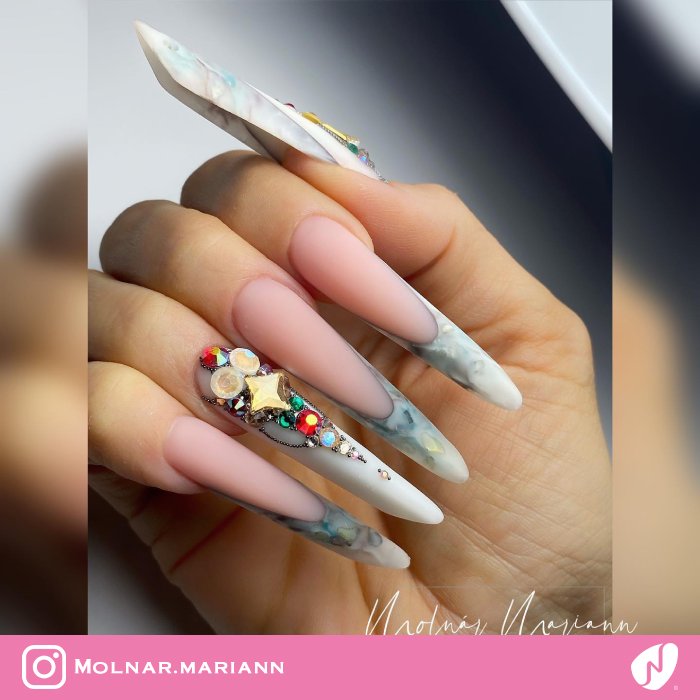
Luxury Purple Marble Nails Design | Marble Nails - NB4669
Rhinestone Design for Dark Purple Marble Nails | Marble Nails - NB4668
Elegant Purple Nails with Marble Design | Marble Nails - NB4667
French Manicure with Purple Marble for Office | Marble Nails - NB4666
Purple Marble French Nails for Work | Marble Nails - NB4665
Embellished Purple Nails with Marble Effect | Marble Nails - NB4664
Long Purple Nails with Marble Design | Marble Nails - NB4663
Casual Purple Marble Nails for Work | Marble Nails - NB4662
Purple Marble Nails with Embellishments | Marble Nails - NB4661
Purple Marble Nails Rhinestone Design | Marble Nails - NB4660
Purple Marble Nails Design | Marble Nails - NB4659
Green Marble Nails with Rhinestones | Marble Nails - NB4658
Neon Green Marble Nails | Marble Nails - NB4657
Luxury Green Marble Nails for Office | Marble Nails - NB4656
Almond Green Marble Nails | Marble Nails - NB4655
Green Neon Marble Nails | Marble Nails - NB4654
Green Marble Nails for Office | Marble Nails - NB4653
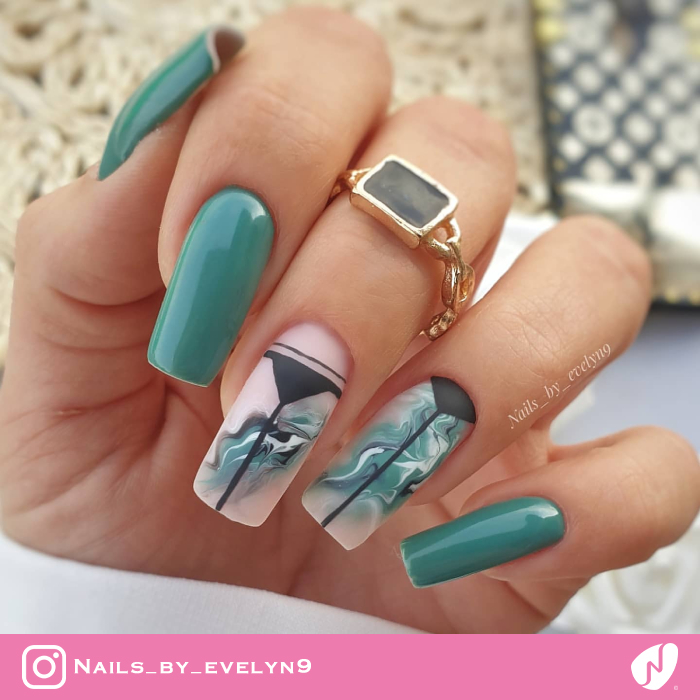
Green Marble Nails | Marble Nails - NB4652
Green Nails Marble Design | Marble Nails - NB4651
Green Marble Nails with Rhinestones | Marble Nails - NB4650
Green Marble Nails with Glitter Accent | Marble Nails - NB4649
Brown Marble Nail Art for Office | Marble Nails - NB4648
Marble Nails for Work | Marble Nails - NB4647
Brown Marble Nails for Office | Marble Nails - NB4646
Brown Marble Nails Design | Marble Nails - NB4645
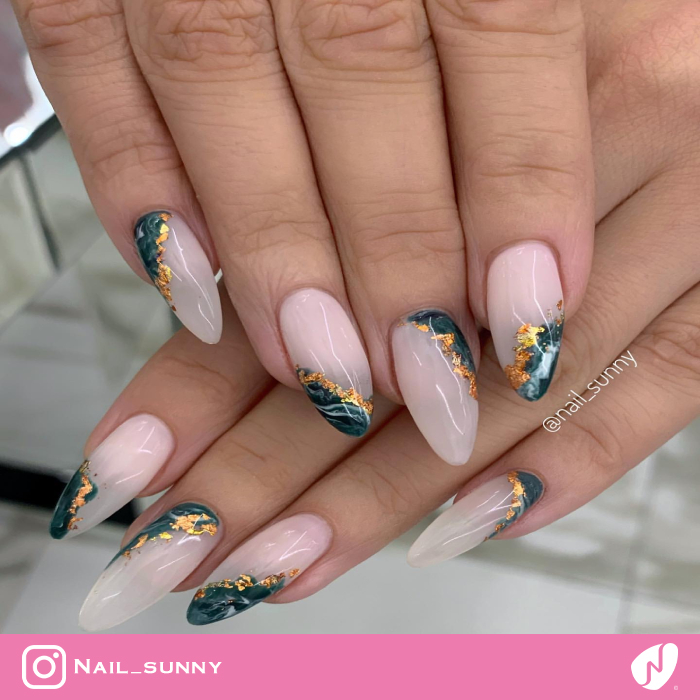
Brown Marble Nails | Marble Nails - NB4644
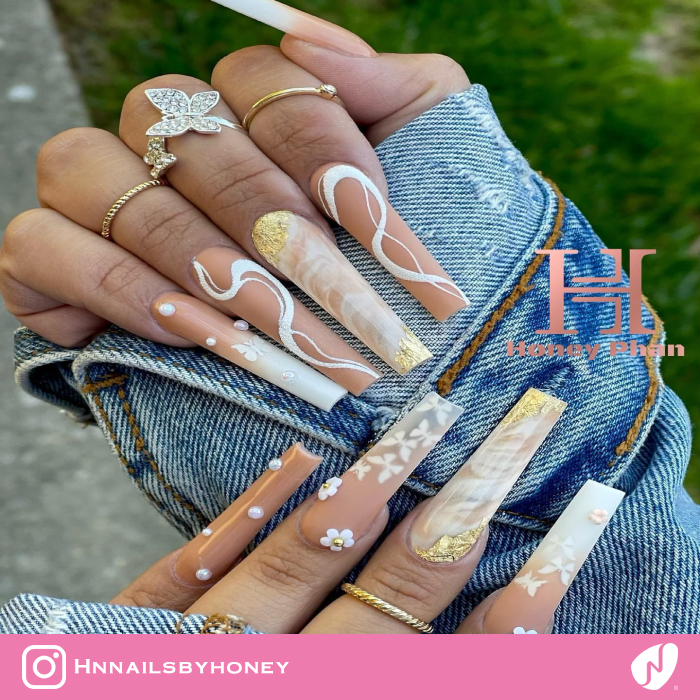
Elegant Brown and Gold Marble Nails Design | Marble Nails - NB4643
Glitter Design Brown Marble Nails | Marble Nails - NB4642
Marble Nails for a Casual Look | Marble Nails - NB4641
Office Black Marble Nails Design | Marble Nails - NB4640
Black Marble Nail with Rhinestones | Marble Nails - NB4639
Black Marble Nail Art | Marble Nails - NB4638
Glossy Black Marble Nail Art | Marble Nails - NB4637
Black Marble Nails | Marble Nails - NB4636
Black Nails with Marble Accent | Marble Nails - NB4635
Casual Black Nails with Marble Design | Marble Nails - NB4634
Marble Design for Black Nails | Marble Nails - NB4633
Black Marble Nails Design | Marble Nails - NB4632
Black Nails with Marble Accent | Marble Nails - NB4631
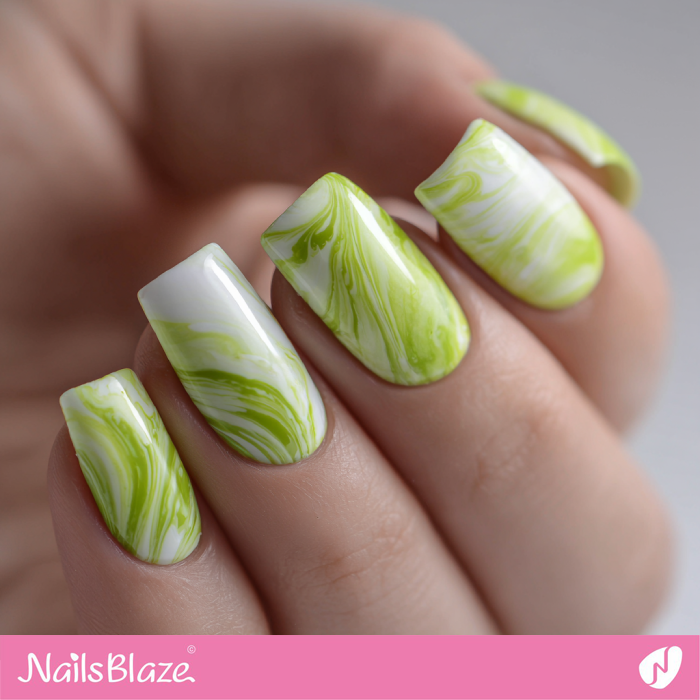
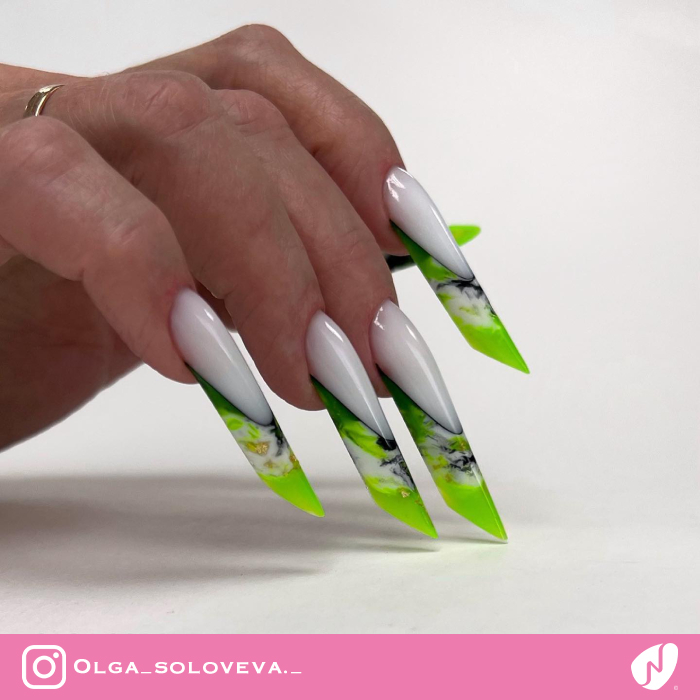
Lime Green Marble Swirls | Lime Green Nails- NB8299
_1748644820.webp)
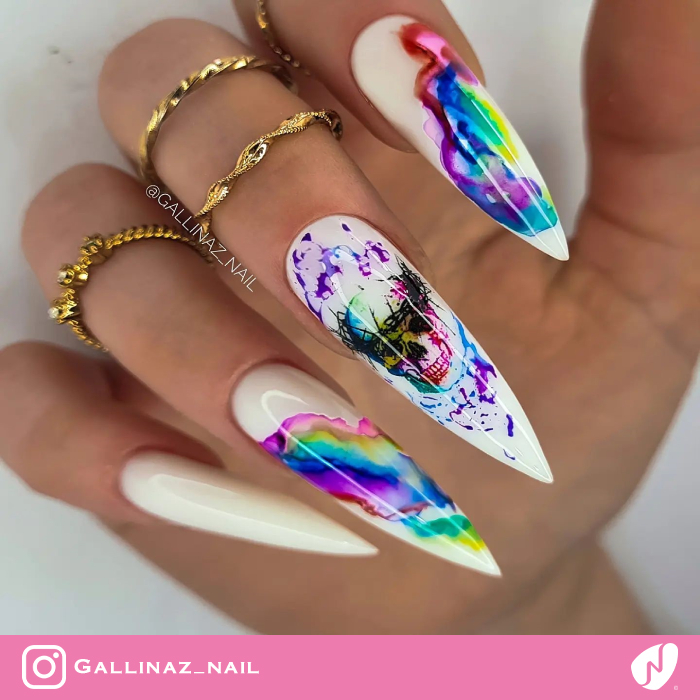
Watery Raspberry Nails with Marble Accents | Watery Nails- NB8253
_1746502544.webp)
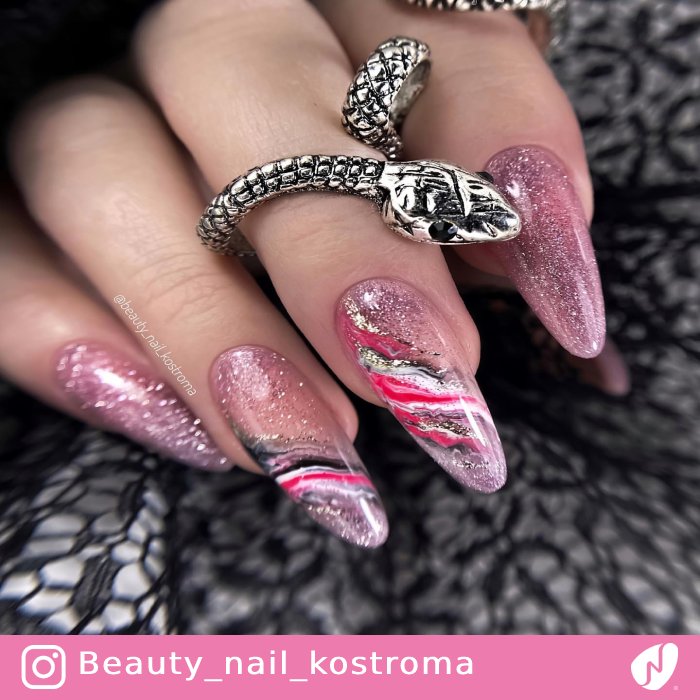
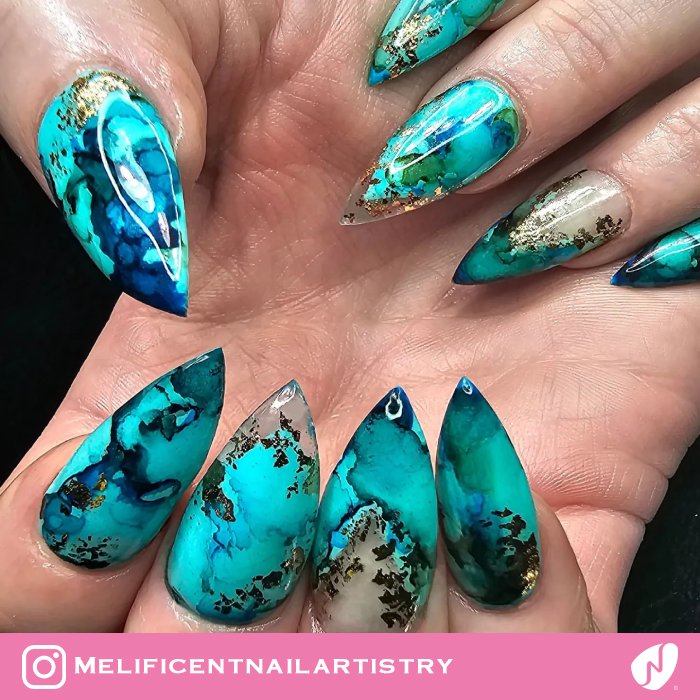
Marble Green Nails with 3D Snake Design | Snake Nails- NB8127
_1746502539.webp)
Snake Accents for Green Marble Nails | Snake Nails- NB8124
_1743109978.webp)
Periwinkle Nails with Marble Effect | Periwinkle Nails- NB7995
_1741375764.webp)
Rose Gold Swirls for Marble Nails Design | Rose Gold Nail Art- NB7820