_1747396711.webp)
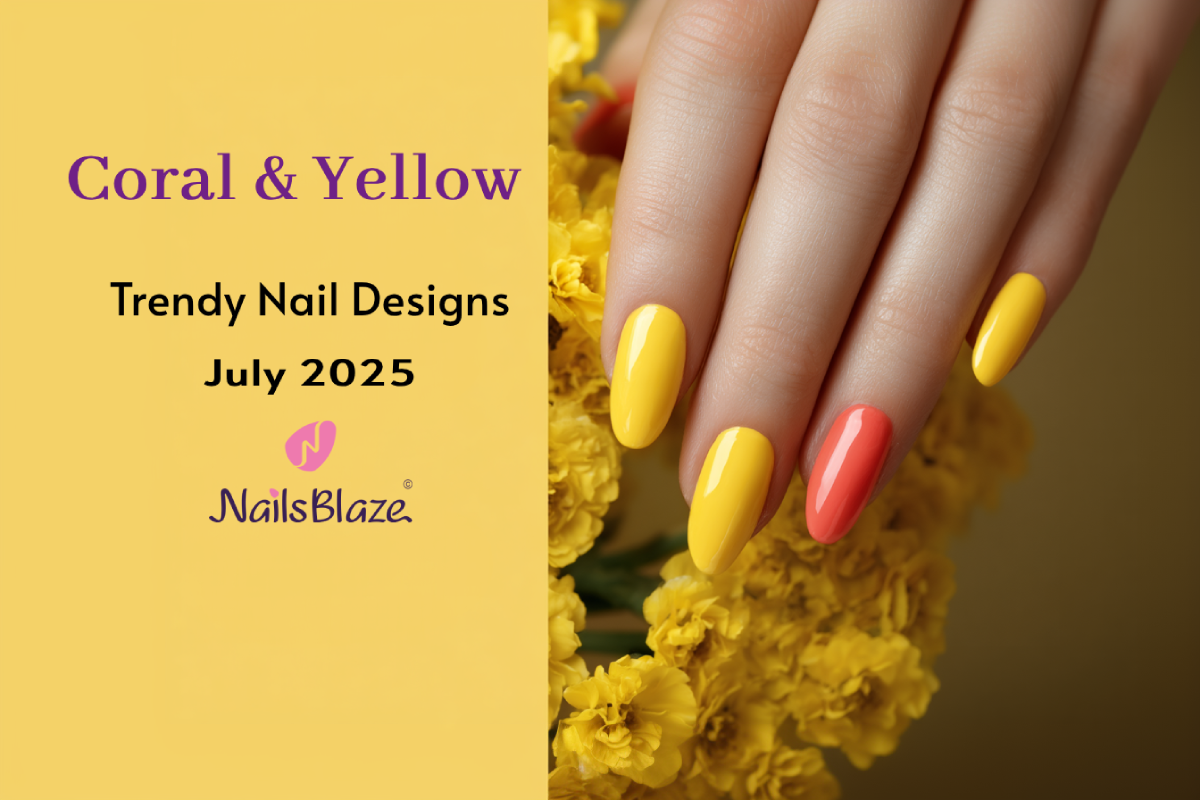
Coral and Yellow Brush‑Stroke Nails Design | Coral and Yellow Nails- NB8181
abstract_1725456268.webp)
Square Nails with Abstract Design of Brush Strokes | Abstract Nails - NB5509
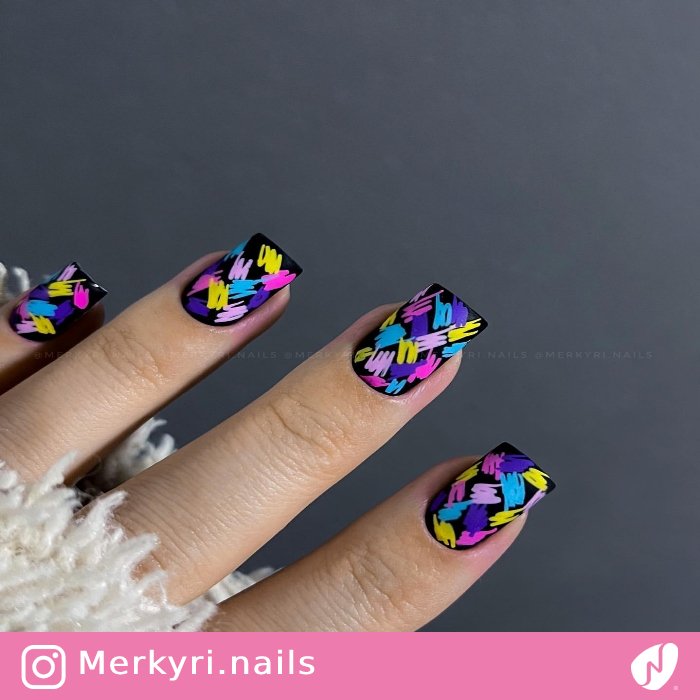
Pastel Neon Brush Strokes Marker Pen Pattern
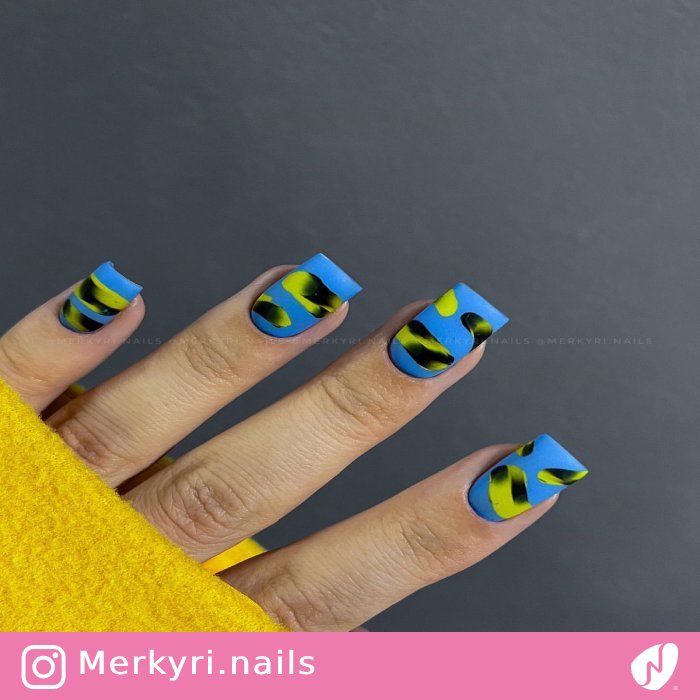
Brush Stroke Square Nails
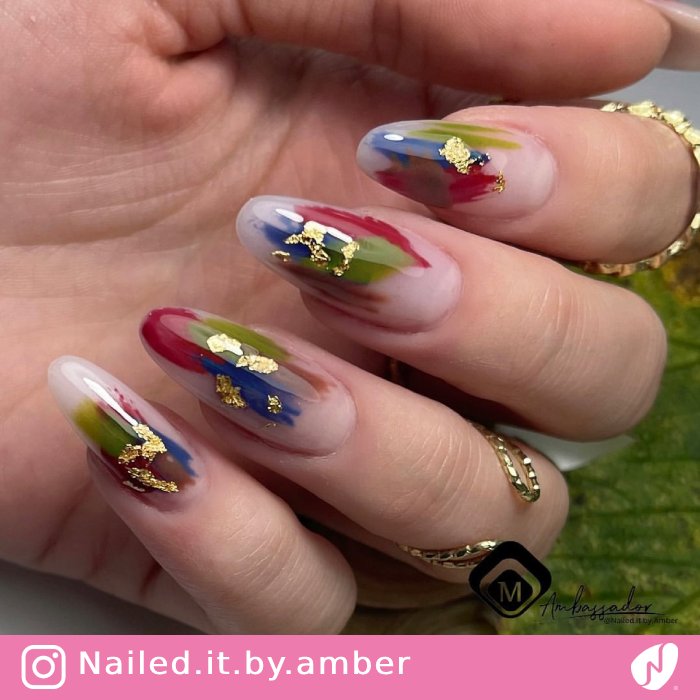
Autumn Brush Stroke and Foil Nails
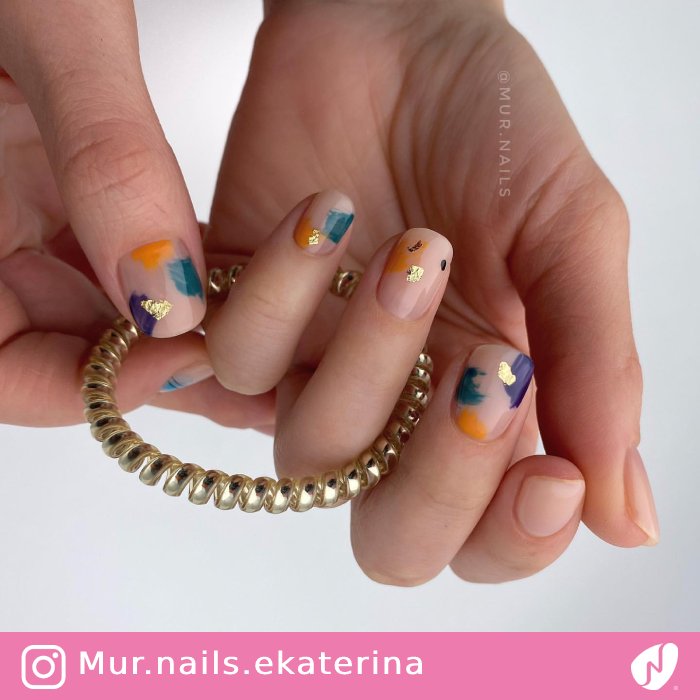
Autumn Nude Nails with Brush Stroke
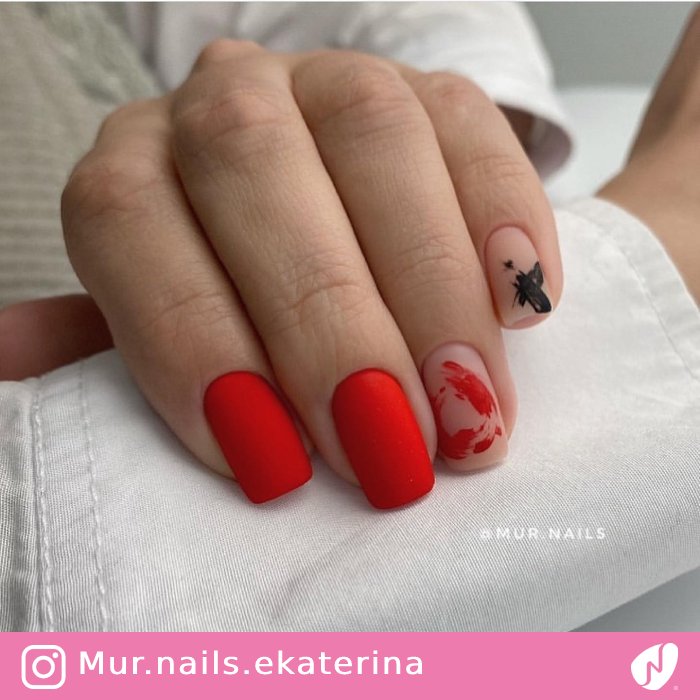
Random Brush Stroke
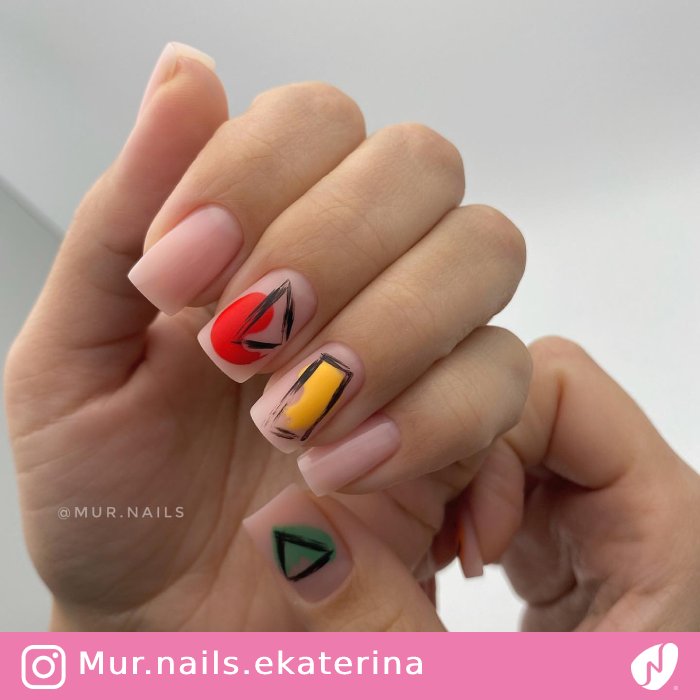
Geometric Brush Stroke Painting
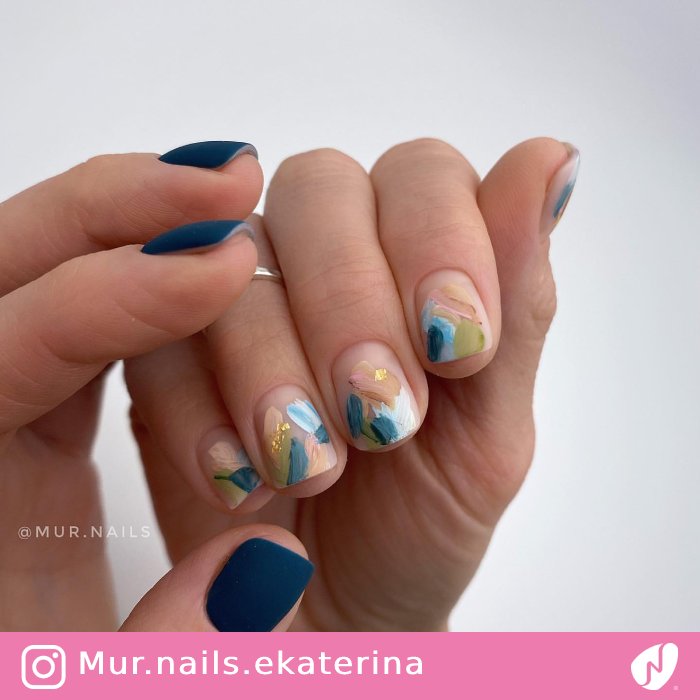
Random Brush Stroke Art on Acrylic Nails
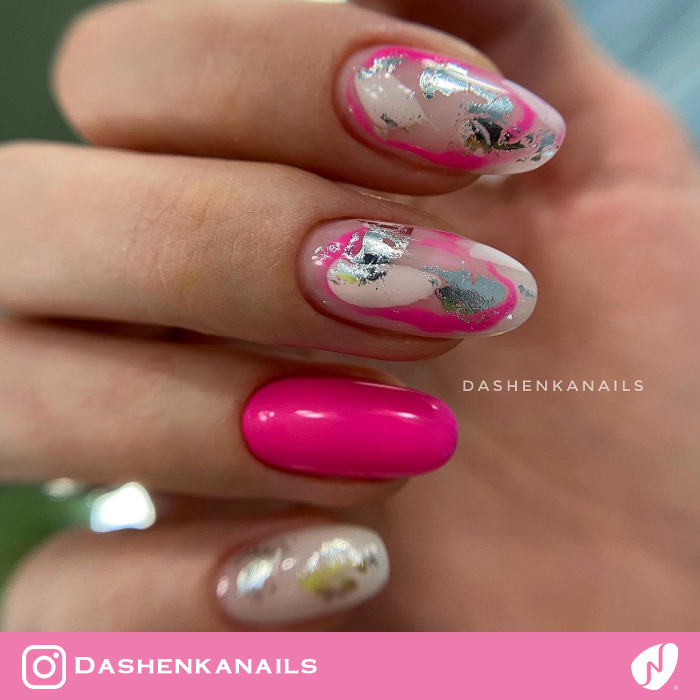
Brush Stroke and Foil Nail Art
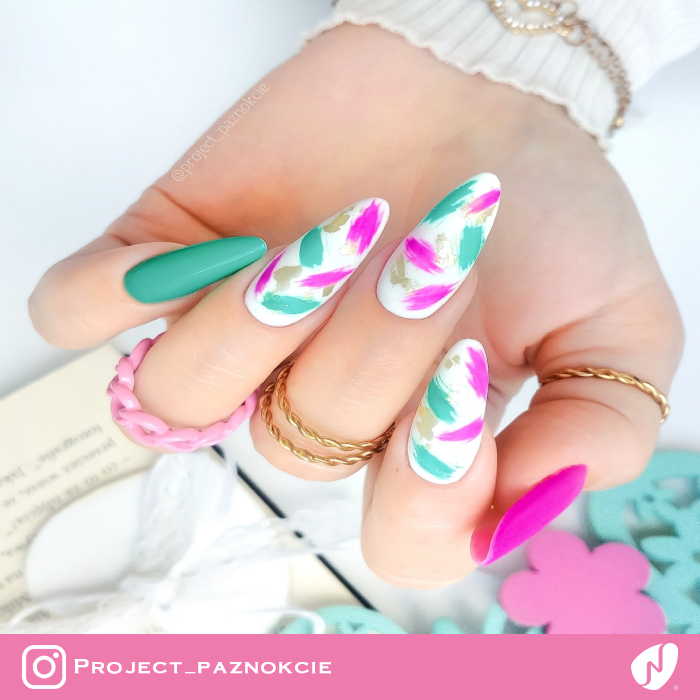
Green Blue and Purple Brush Stroke Nails
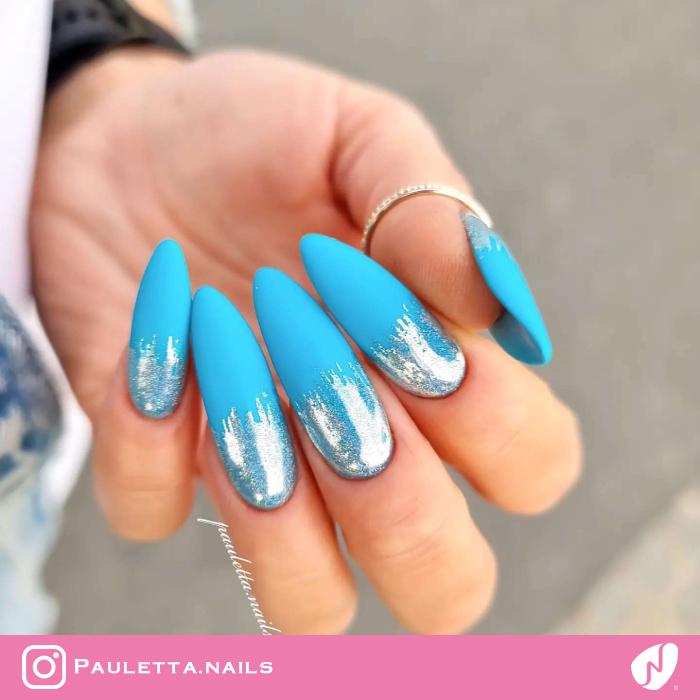
Matte Nails with Silver Brush Strokes
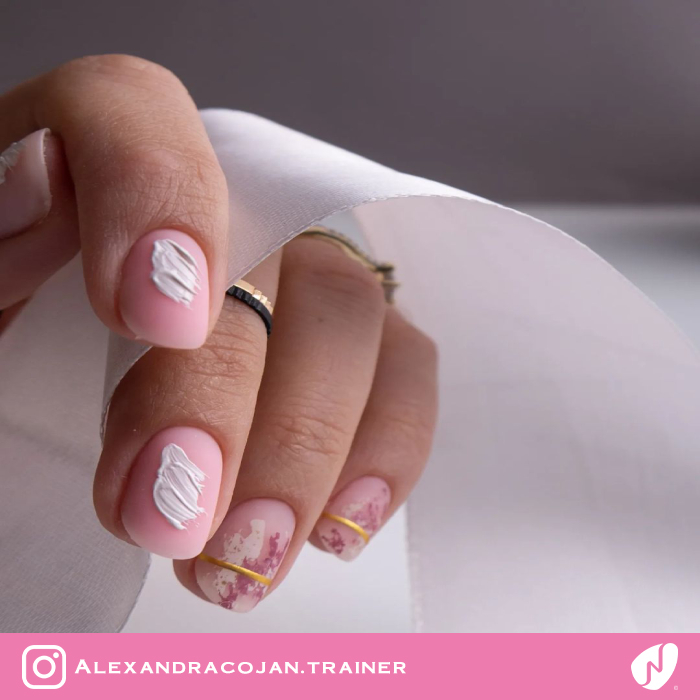
Brush Strokes on Pink Nails
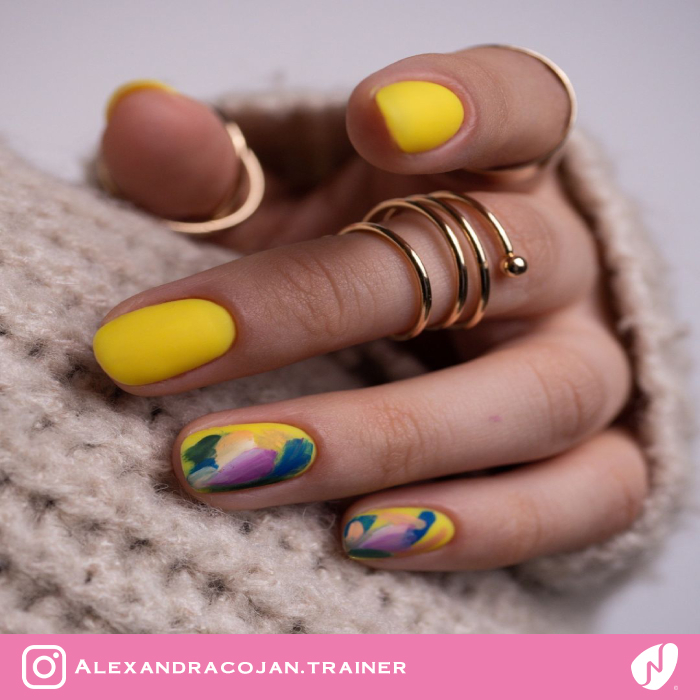
Colorful Brush Strokes on Nude Nails
_1737736173.webp)
Dark Green Nails with Minimalist White Abstract Strokes | Elen Customized Nail Designs- NB7385
_1735533440.webp)
Mocha Mousse Textured Nails for an Abstract Look | Color of the Year 2025 - NB6914
_1735239550.webp)
Soft Pink and Blue Nails Design for Birthday | 30th Birthday Nails - NB6903
_1735239437.webp)
Textured Paint Nails for Birthday | 30th Birthday Nails - NB6892
_1735239086.webp)
Birthday Nails with Glitter Accents | 19th Birthday Nails - NB6865
blue-birthday_1731874369.webp)
Abstract Blue Nails for Birthday | Blue Birthday Nails - NB6431
abstract_1725456226.webp)
Watercolor Strokes and Gold Leaf Abstract Nails Design | Abstract Nails - NB5500
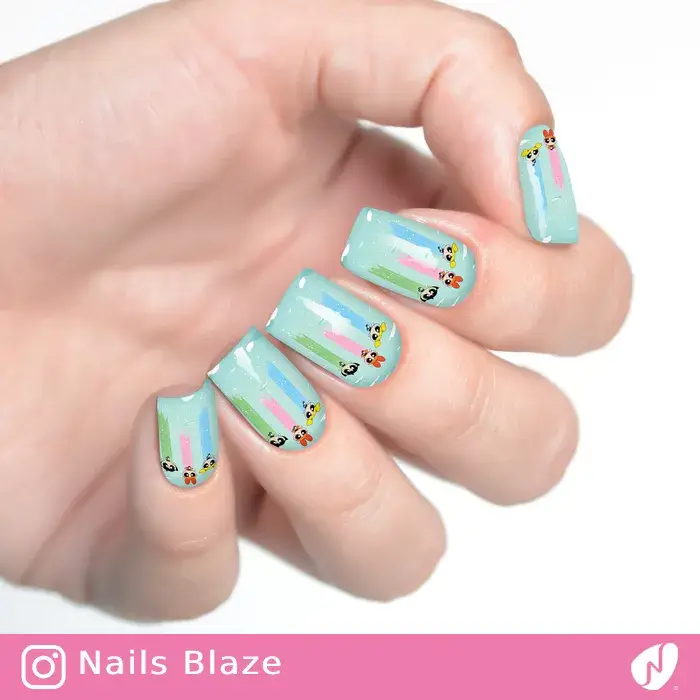
Powerpuff Girls | Cartoon Nails - NB72
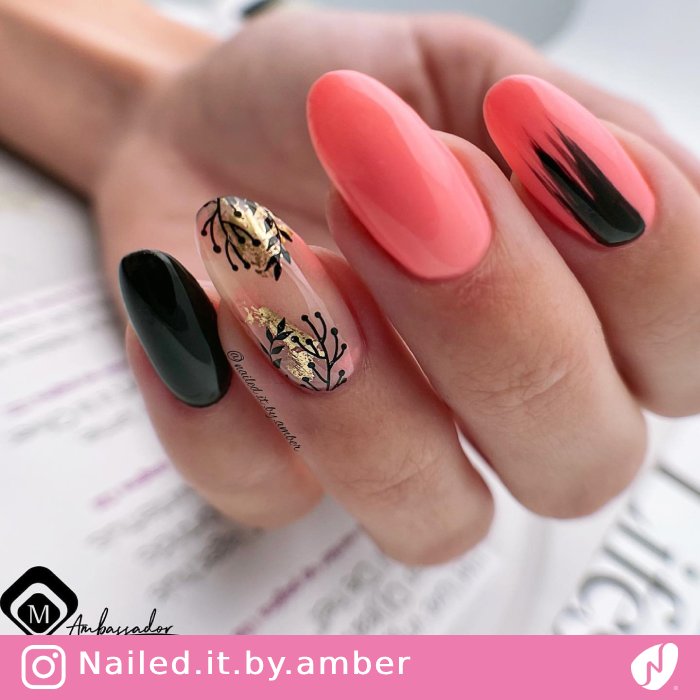
Glossy Mismatched Nails with Leaves
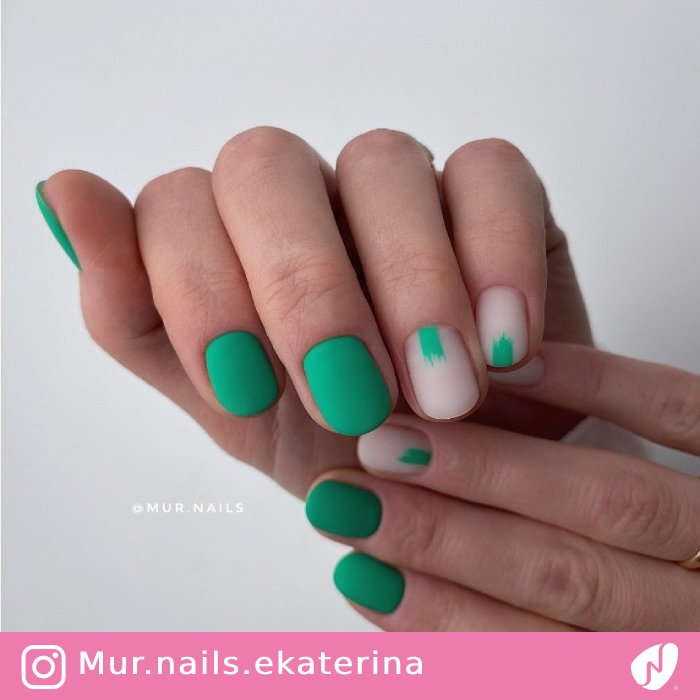
Bluish Green Short Nails
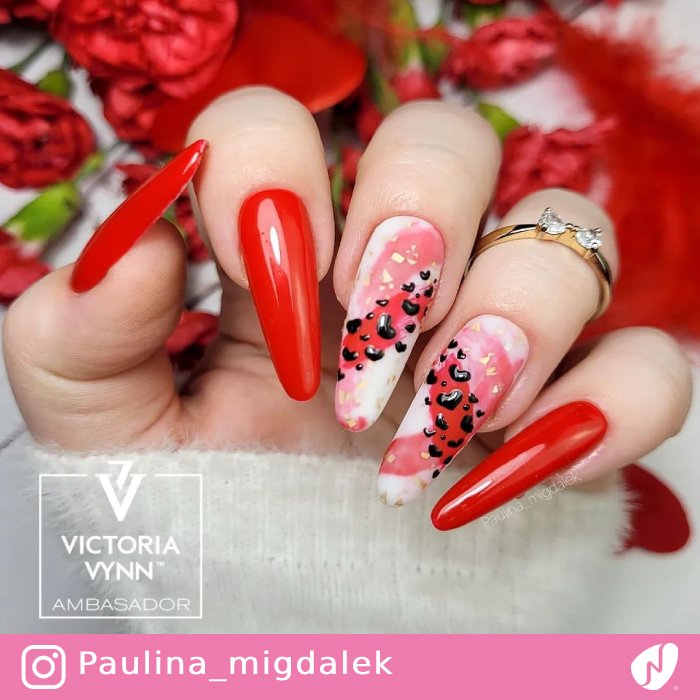
Abstract Valentine Nails
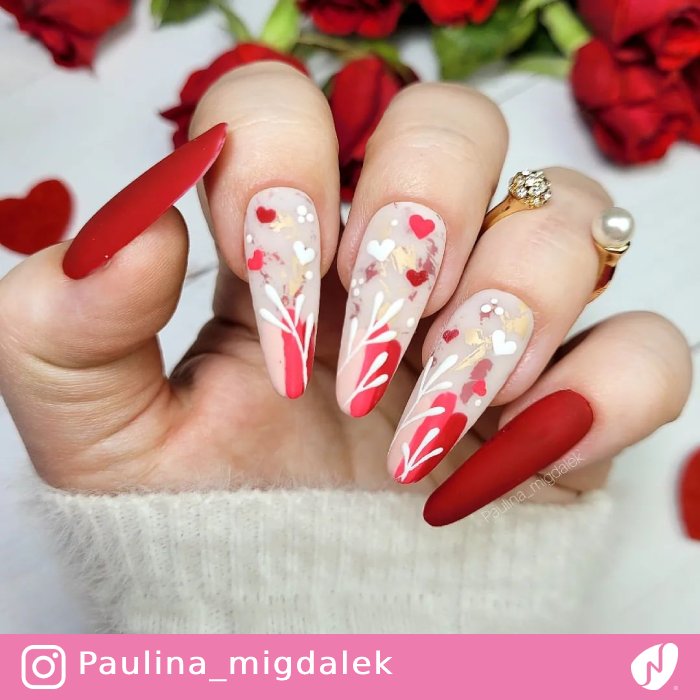
Hearts on Matte Abstract Nails
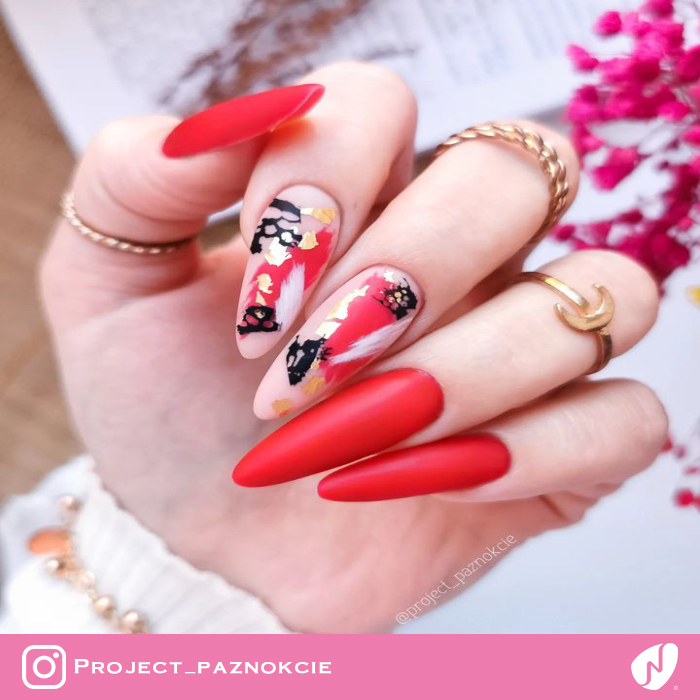
Warm Colors Abstract Nails
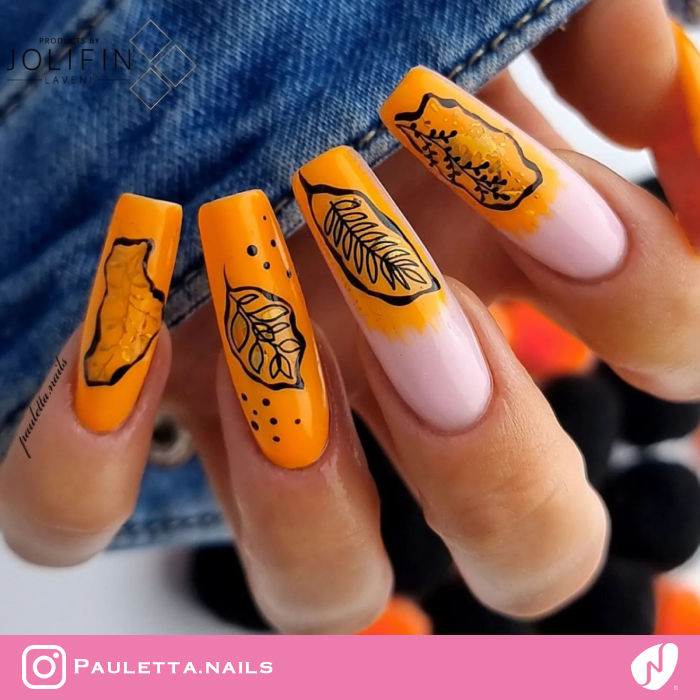
Cocoa Fruit Nail Design
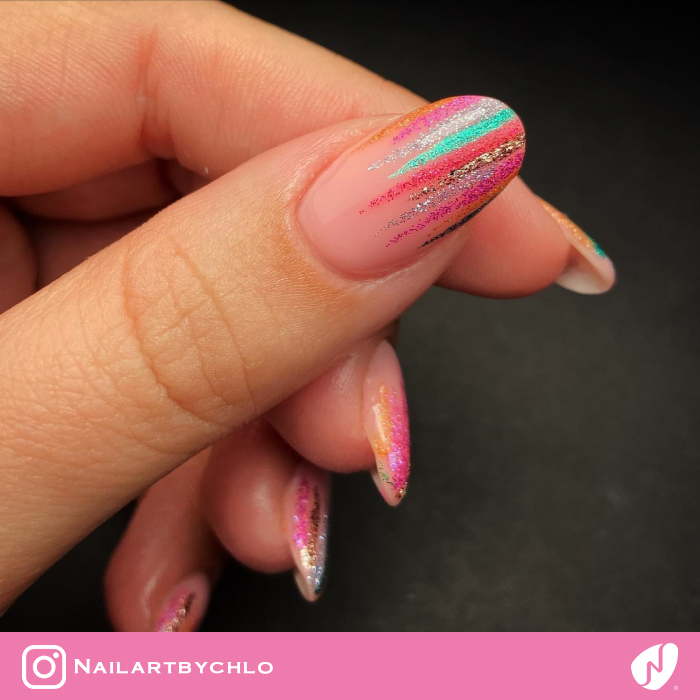
Glitter Stripes


