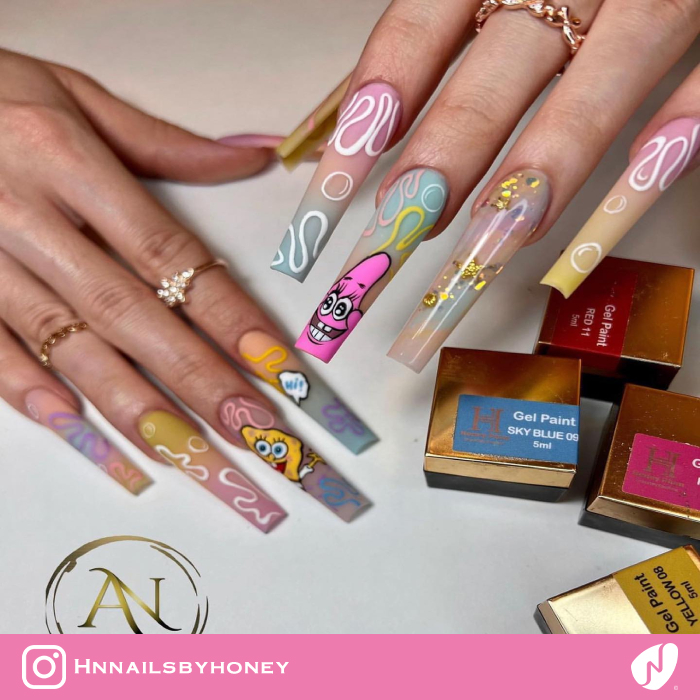
Foil nails are a type of manicure or pedicure embellishment that involves applying a metallic or holographic foil to your nails. They can be used to create an accent on your nails or to cover the entire surface of your nails. You can utilize some types of foils for a perfect nail design: solid color foils, holographic (or iridescent) foils, and patterned (like hearts, flowers, words, and branded) foils. The foil can be completely colored or left clear, but in both cases, it's applied over the natural or fake nail. The result is a shiny, reflective look that's perfect for special occasions and events. The foils can be used to create patterns and designs, including flowers, animals, and abstract patterns, or they can be left plain. You should always have some sort of motif or design on top of your foil manicure—this will help break up the monotony and make it look more attractive. Just make sure they're not too big or heavy so they don't throw off the balance of your outfit! They are available in a wide range of colors and can be combined with other types of nail art as well. Foil is a highly versatile product that can be used on any color scheme or color combination. If you're looking for something more traditional, try using silver or gold flake nails with black or white polish as a base color. If you're more into statement pieces, try using bright colors like neongreen or pink with silver foils for a pop of color that really stands out! If you're ready to bring out your inner fashionista, here are some innovative ideas that could help you get inspired and create some stunning nails with foil designs.
Long Foil Nails
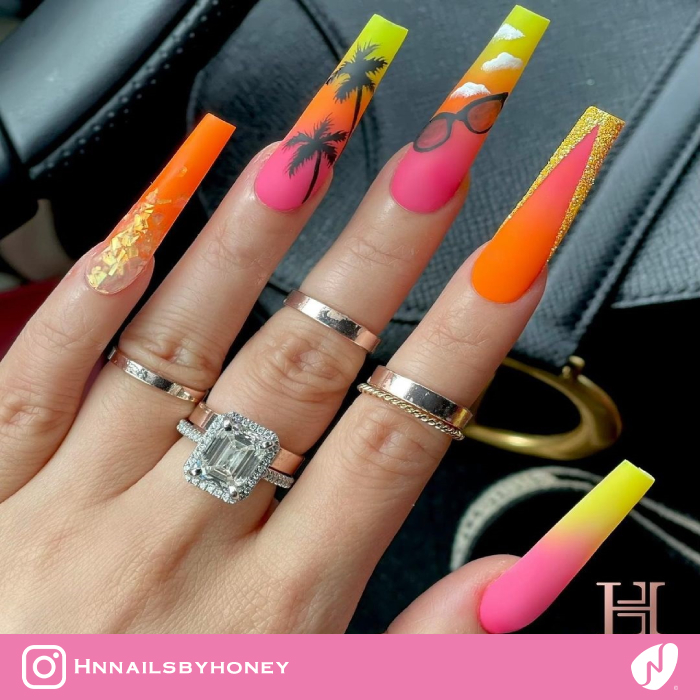
Luxury Pink Nails with Chrome Tips | Foil Nails - NB4088
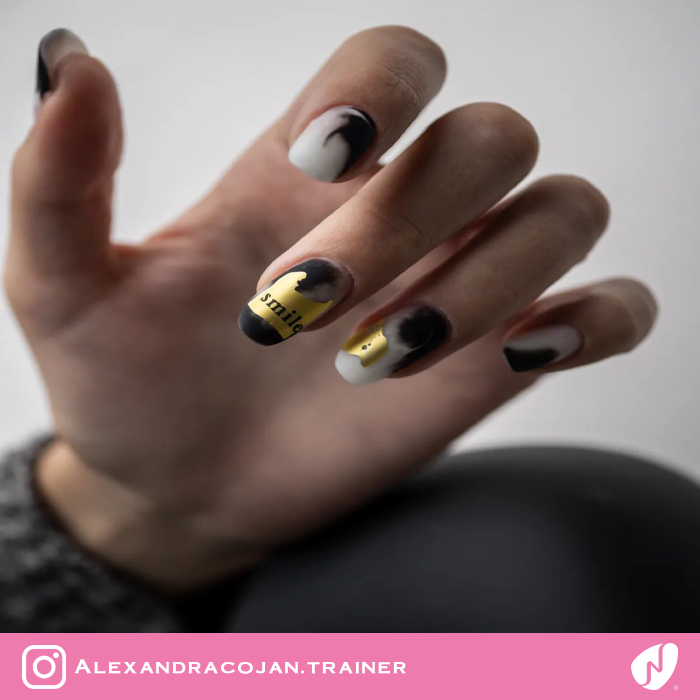
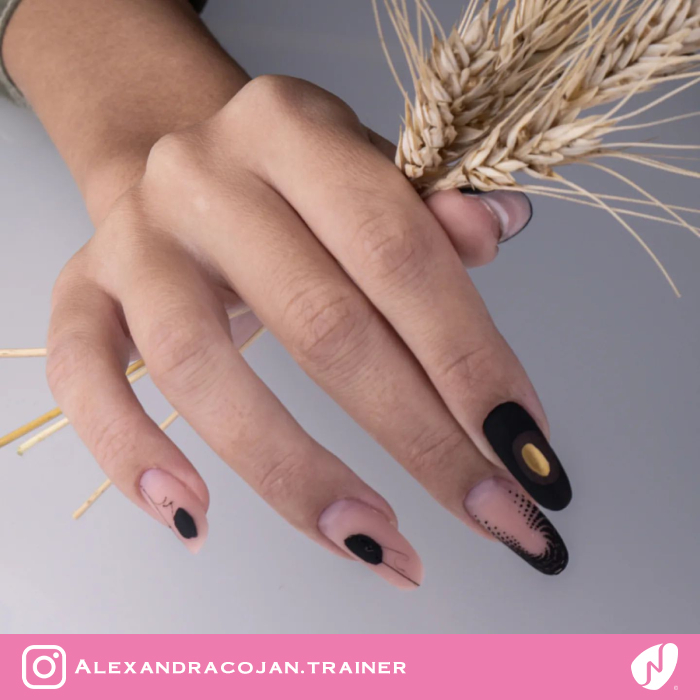
Black and Nude Nails Design | Foil Nail Art - NB4060
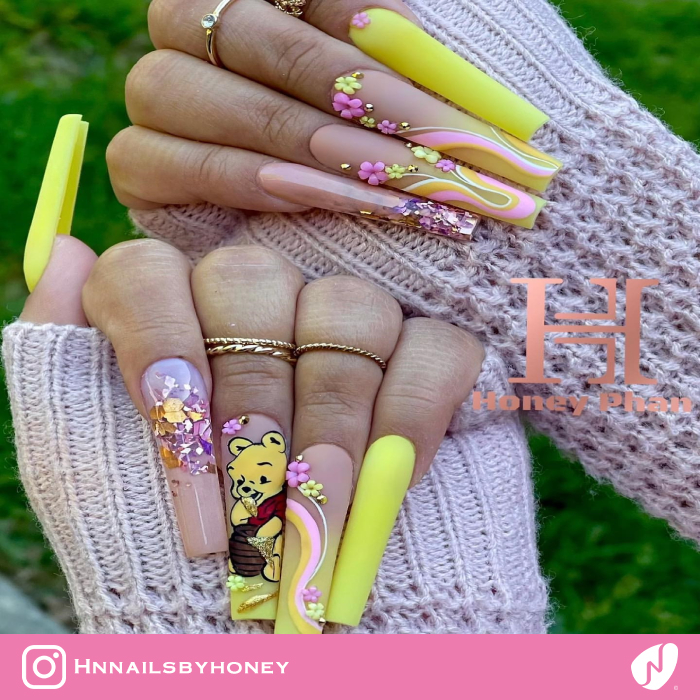
When it comes to foil nail designs, you have to make sure that the colors complement each other. You don't want one color to stand out more than another or clash with another. For example, it will be noticeable if you choose a dark color for your base coat and then put a light color on top of it. The same goes for using too many different colors in the same design. If there are too many different shades of blue or purple and they are all close together, they'll look like one big blob of paint instead of separate pieces. It's also important to use only a few different shades of the same color if you're doing a gradient design; this can also lead to having one large blob instead of multiple pieces of foil in different places on your nails. Think about your skin tone. If you have darker skin, then consider using lighter shades of foil designs; if you have fair skin, then darker colors can look more dramatic. You can also choose from a wide range of shades that match other fashion or pop culture trends. For example, if you're planning a Disney World or Disneyland trip, consider using a Disney-themed design like Minnie Mouse or Mickey Mouse faces on your nails! This will make them stand out even more than usual while still feeling trendy enough not to look outdated in just a few months.
Here are some color combinations for foil nail designs:
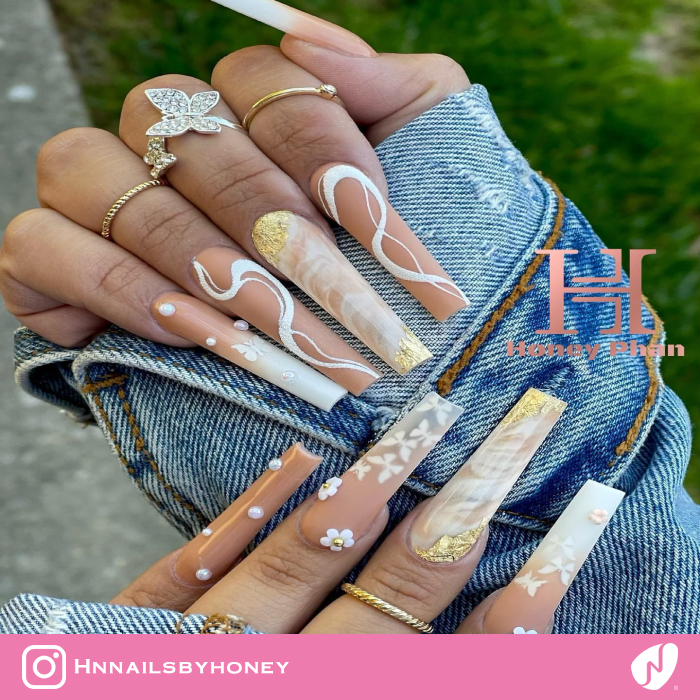
White nails with gold foil Pink nails with gold foil Black and gold foil nails White nails with silver foil Silver and gold foil nails
Silver and rose gold foil nails Silver, gold, and rose gold foil nails Black and silver foil Red and gold foil nails Blue and silver foil
Tips for Foil Nail Designs
The best nail designs for foil nails are those that are simple and clean. You don't want to get too fancy with your design because the shine of the foil will make it hard to see any detail anyway. Keep the design simple, and let your manicure shine!
If you want to add some sparkle without going full-on glitter, try using small foil pieces in a pattern on top of your nail polish.
Don't use foils on wet nails because they could rip off prematurely when they dry.
Don't use too much of it. Foil nail designs are best when they're subtle, so avoid using too much foil and instead opt for a single accent nail or two.
1) Clean and prep your nails as you normally would before applying any type of polish. 2) Apply the base coat to seal in moisture, then let it dry completely before moving on. 3) Apply the foil glue over your whole nail, including the free edge (the part closest to your cuticle). Make sure not to get any glue near your cuticle or skin! The glue will stick better if it is allowed to dry for a few seconds. 4) Apply one coat of foil by pressing down firmly and evenly with a foam applicator. The foil will stick better if it is allowed to dry for a few seconds. 5) When the foil has dried completely, apply the top coat.
How to use a foil nail transfer without glue?
If you're using a foil sheet, you'll want to cut out the pattern you want from the sheet before applying it to your nail. Then, place the pattern on top of your nail and gently press down around the edges to ensure that it sticks well. If you're using foil tape, place the tape over your nail and then carefully pull back on one side of the tape to reveal some of the adhesive backings. Place your pattern on top of this exposed portion of adhesive, then press down around its edges and remove any excess material from around the edges if necessary.
How long do foil nails last?
If you get your foils professionally done, they'll usually last longer than if you apply them at home. This is because the technician who applies them will use higher-quality products and take more time with each individual nail.
If you have the nails professionally applied, they should last about two to three weeks. For those who do their own manicures, the lifespan of the nails can be anywhere from one to two weeks.