.webp)
.webp)
.webp)
.webp)


_1733974821.webp)
Winter Design Cute Short Nails | Winter Nails Design - NB6748
_1732991774.webp)
Black and White Nails Winter Design | Classy Winter Nails - NB6603
blue-birthday_1731874379.webp)
Nails with Blue Shades for Birthday | Blue Birthday Nails - NB6433
blue-birthday_1731874344.webp)
Blue and Black Nails Rhinestone Design | Blue Birthday Nails - NB6426
blue-birthday_1731874306.webp)
Nails with Bright Shapes of Color and Blue Accents | Blue Birthday Nails - NB6425
_1731679758.webp)
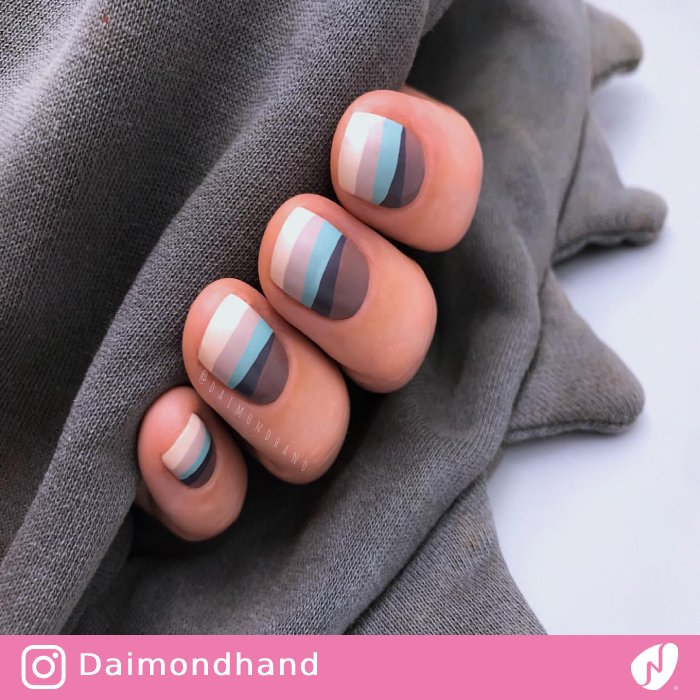
Grounded Nails with Gold Stripes | Sherwin William Color Capsule 2025 - NB6406
_1731679735.webp)
Gold Stripes and Grounded Nails | Sherwin William Color Capsule 2025 - NB6398
_1731679719.webp)
Golden Design for Grounded Matte Nails | Sherwin William Color Capsule 2025 - NB6391
_1731095474.webp)
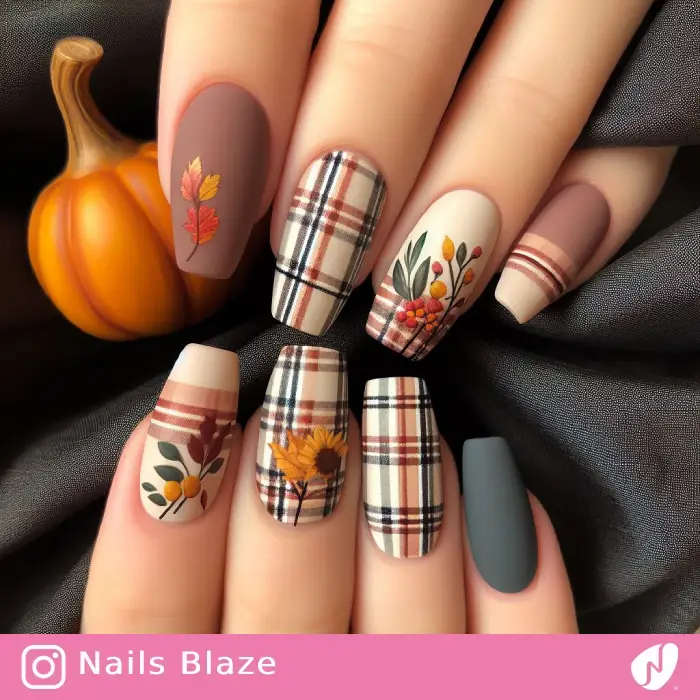
Wheat Design for Stylish Short Nails | Thanksgiving Wheat Nails - NB6289
_1730709320.webp)
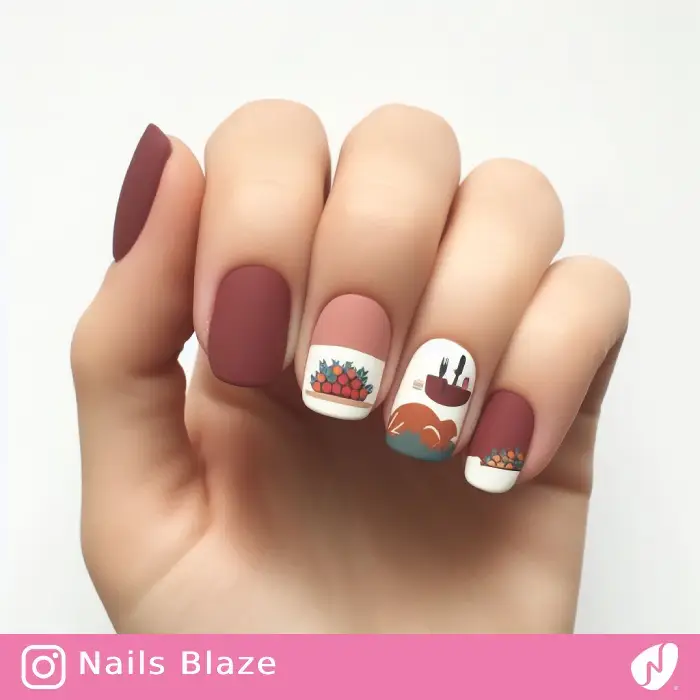
White Almond Nails with Cranberry Theme | Thanksgiving Cranberry Nails - NB6228
_1730201692.webp)
Russian Almond Cinnamon Nails Design | Cinnamon Nails - NB6144
_1730201683.webp)
Stylish Cinnamon and Blue Nails Design | Cinnamon Nails - NB6142
_1730201515.webp)
Sea Salt-inspired Blue and Cinnamon Nails | Cinnamon Nails - NB6130
_1730099108.webp)
Short Pink and Blue Nails Star Design | Birthday Star Nails - NB6080
fall-leopard_1728064583.webp)
Square-shaped Fall Leopard Print Nails | Fall Nails - NB5737
fall-leopard_1728064569.webp)
Yellow and Green Leopard Print Nails for Fall | Fall Nails - NB5733
fall-leopard_1728064561.webp)
Orange Square-shaped Nails Leopard Design | Fall Nails - NB5730
fall-plaid_1727618243.webp)
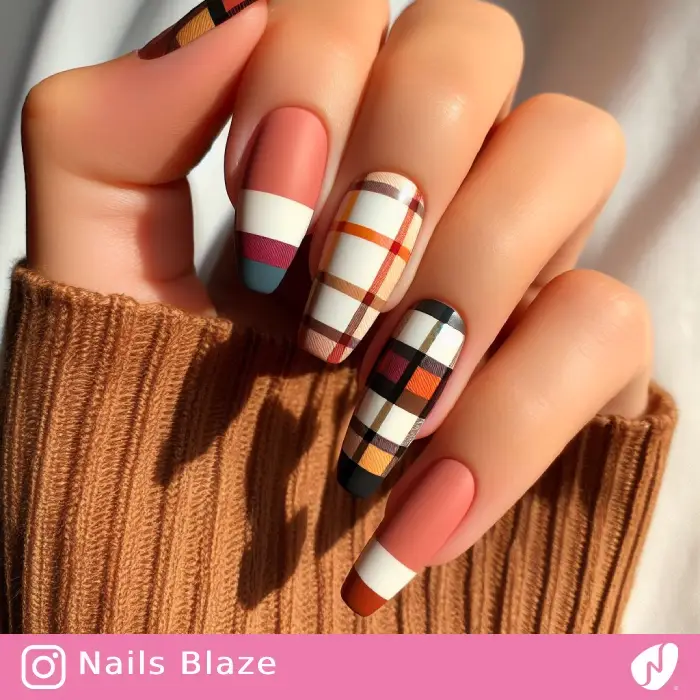
White Square Nails Plaid Design | Fall Nails - NB5723
fall-plaid_1727618242.webp)
Short Almond Nails Plaid Design | Fall Nails - NB5722
fall-plaid_1727618240.webp)
Fall Plaid Design for Classic Brown Nails | Fall Nails - NB5721
fall-plaid_1727618238.webp)
Red and Black Fall Plaid Nails Design | Fall Nails - NB5720
fall-plaid_1727618237.webp)
Fall Plaid Coffee Beige Nails | Fall Nails - NB5719
fall-plaid_1727618235.webp)
Fall Plaid Nails of Brown Shades | Fall Nails - NB5718
fall-plaid_1727618232.webp)
Red and Mustard Yellow Fall Plaid Nails | Fall Nails - NB5717
fall-plaid_1727618230.webp)
Square Nails Plaid Design | Fall Nails - NB5716
fall-plaid_1727618229.webp)
Simple Plaid-inspired Nails Design | Fall Nails - NB5715
fall-plaid_1727618227.webp)
Reverse French Glitter Design for Plaid Nails | Fall Nails - NB5714
fall-plaid_1727618226.webp)
Brown Nails with Plaid Accent for Autumn | Fall Nails - NB5713
fall-plaid_1727618224.webp)
Long Classic Fall Plaid Nails | Fall Nails - NB5712
fall-plaid_1727618222.webp)
Square-shaped Fall Plaid Nails | Fall Nails - NB5711
fall-plaid_1727618221.webp)
Green Plaid Nails Design | Fall Nails - NB5710
fall-plaid_1727618215.webp)
Purple Fall Plaid Nails with Glitters | Fall Nails - NB5707
fall-plaid_1727618212.webp)
Fall Red Plaid Nails Design | Fall Nails - NB5706
fall-plaid_1727618211.webp)
Brown Fall Nails with Plaid Design | Fall Nails - NB5705
fall-plaid_1727618209.webp)
White Nails Plaid Pattern Design for Fall | Fall Nails - NB5704
-French_1726133029.webp)
Almond Nails with French Design | French Nails - NB5551
classy-fall_1725711836.webp)
Classy Fall Nails in Burgundy and Gold with a Matte Glitter Finish | Fall Nails - NB5523
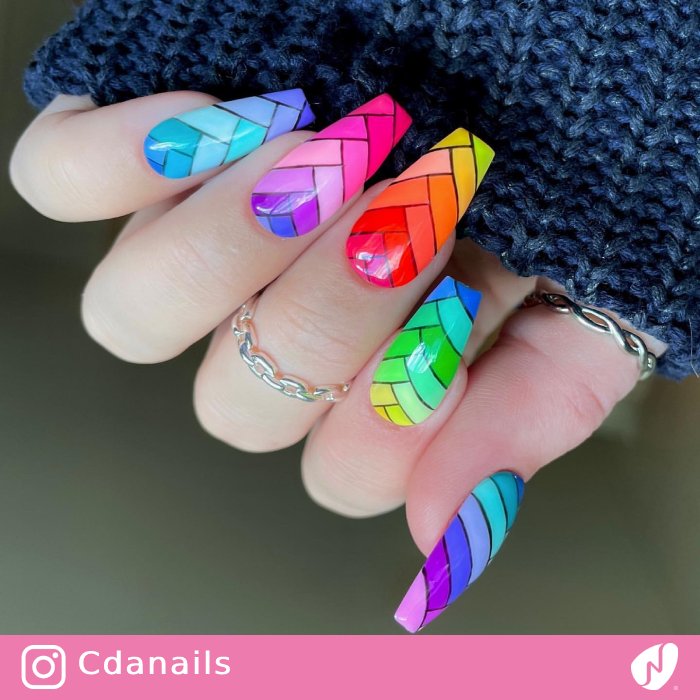
Striped Rainbow Glitter Nails Design | Glitter Nails - NB4978
Patches and Hearts Graffiti Nails | Heart Nails - NB4866
Simple Graffiti Heart Nails Design | Heart Nails - NB4852
Pink and Blue Nails Graffiti Heart Design | Heart Nails - NB4848
Party Nails with Neon Hearts | Heart Nails - NB4827
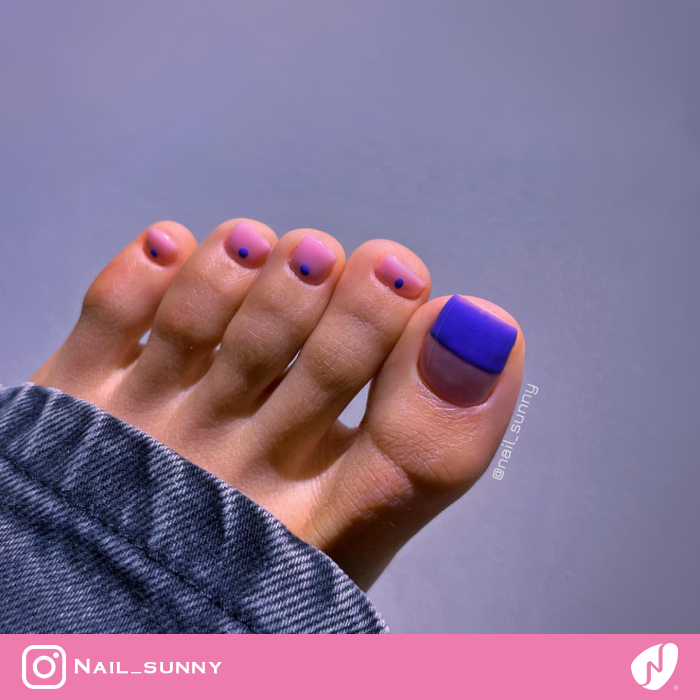
Pink and Black Design Nails | Line and Dot Nails - NB4436
Brown Nails for Office | Line and Dot Nails - NB4433
Modern Nails Design with Red Foil | Foil Nails - NB4134