Nailstales / The Secret to Perfect Marble Nail Art
The Secret to Perfect Marble Nail Art: 4 Game-Changing Blooming Gels
Marble nail art is one of the hottest trends in nail design, offering an elegant, versatile look that clients adore. Achieving this effect is easier than ever with blooming gels. In this guide, we’ll explore how to create stunning marble nails using four standout products: Mylee Blooming Gel, The GelBottle Inc Blooming Gel, Gelish Blooming Gel, and Makartt Clear Blooming Gel.
What Makes Blooming Gels Perfect for Marble Effects?
Blooming gels are designed to disperse gel polish colors, creating beautiful, organic patterns. Their versatility allows nail artists to experiment with designs like watercolor, marble, stripes, and florals. Here’s how these four brands can help you craft flawless marble nails:
1. Mylee Blooming Gel
Affordable and Beginner-Friendly
Product Highlights: 
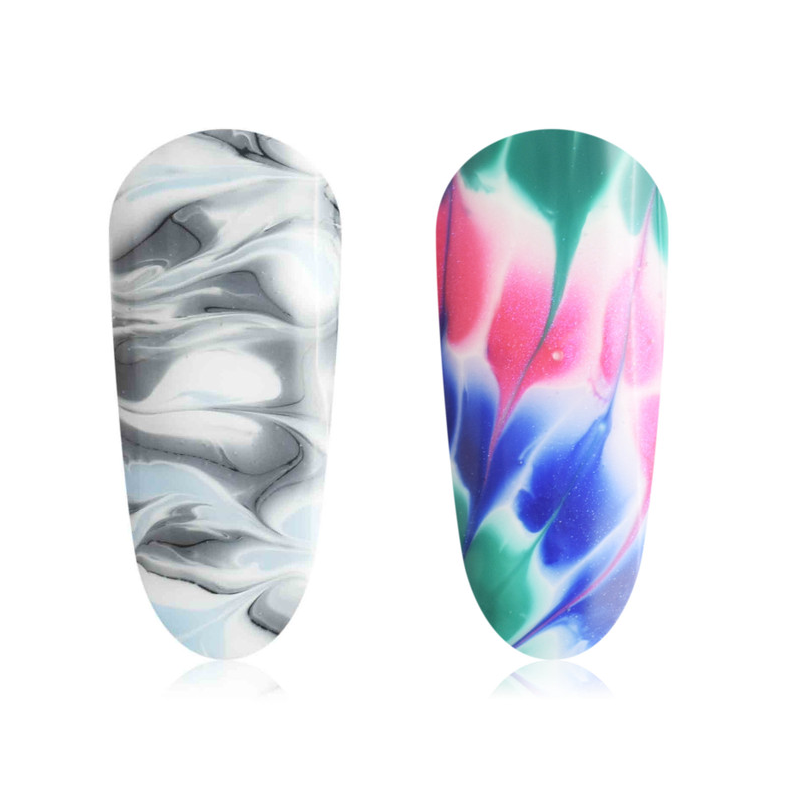
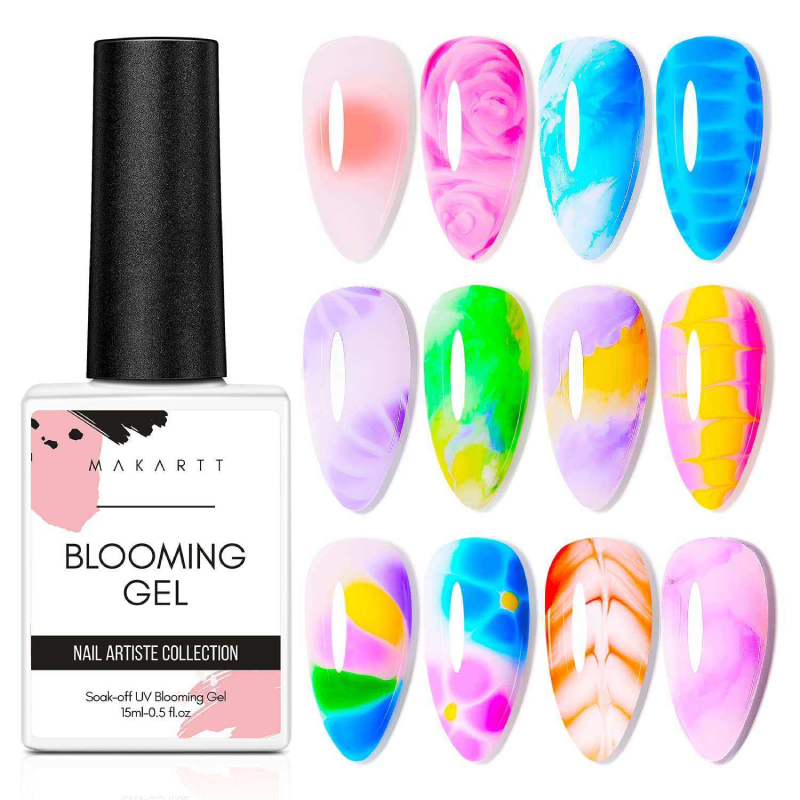
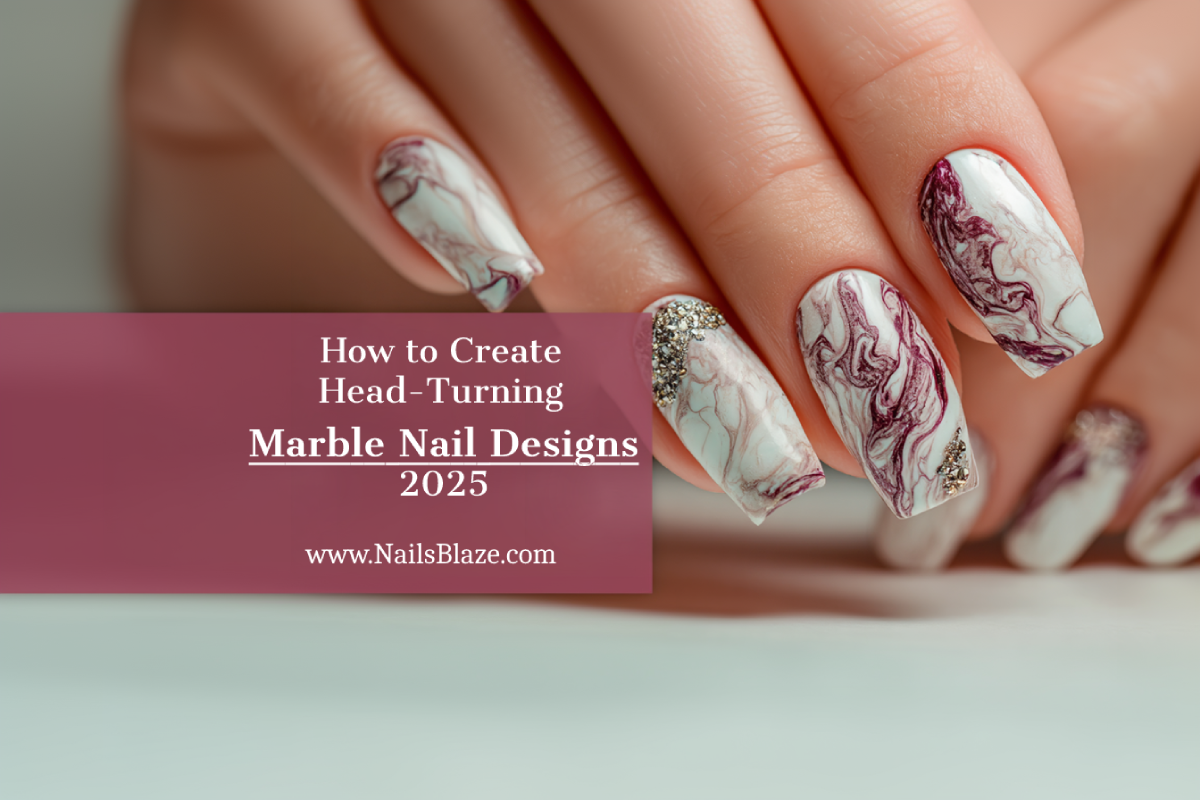
Specially formulated to spread gel colors for a blooming or marble effect. Offers a 
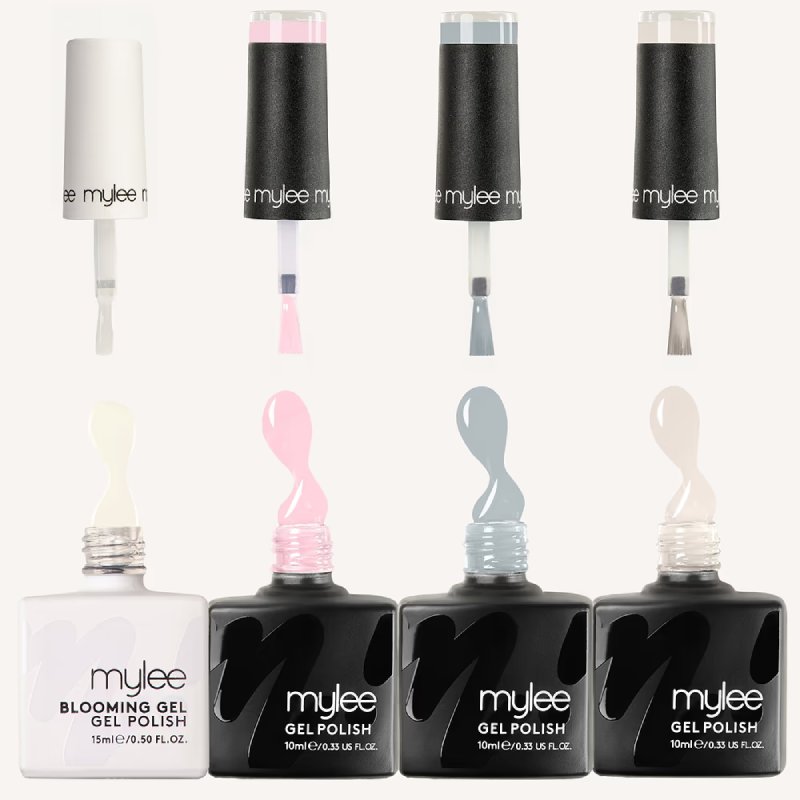
Marble Gel Polish Quad with three stunning colors (Luna, Californian Love, Steel My Heart) for added variety.
Step-by-Step for Mylee Marble Effect: Prep the nails: Push back cuticles, shape, and buff. Apply and cure Mylee Base Coat. Add a base color (optional) and cure. Apply a thin, uncured layer of Mylee Blooming Gel. Use a dotting tool to add gel color strokes; watch them bloom over 10–30 seconds. Cure under a UV/LED lamp, then seal with the Mylee No Wipe Top Coat.
Pro Tip: Create a Tortoiseshell effect with Mylee pink and brown tones (Mylee Tortie Gel Polish Quad) or try Neon Tie-Dye designs for a bold statement.
2. The GelBottle Inc (TGB)
Premium and Professional
Product Highlights: Non-shrink, self-leveling formula for flawless results. Compatible with all TGB colors and the iconic BIAB™. Vegan, cruelty-free, and long-lasting (30+ days).
Step-by-Step for TGB Marble Effect: Prep the nails and apply a base coat; cure. Apply a layer of TGB color or BIAB™; cure. Add a thin, uncured layer of TGB Blooming Gel. Create your marble design with a brush or dotting tool, then cure. Seal with a TGB top coat for a chip-free finish.
Pro Tip: Use premium pigments for vibrant, intricate marble designs. Ideal for professional-grade results.
3. Gelish Blooming Gel
Quick and Mess-Free
Product Highlights: Effortlessly creates marble and watercolor effects. Cures in just 30 seconds under an LED lamp. Cruelty-free and free of harmful substances.
Step-by-Step for Gelish Marble Effect: Prep and apply Gelish Base Coat; cure. Add two coats of Gelish Soak-Off Gel Polish; cure. Apply a thin, uncured layer of Gelish Blooming Gel. Use a brush or dotting tool to add gel colors, allowing them to disperse naturally. Cure under an LED lamp for 30 seconds, then finish with Gelish Top It Off Top Coat.
Pro Tip: Use this gel for quick appointments or when time is limited. Ideal for nail technicians with busy schedules.
4. Makartt Clear Blooming Gel
Budget-Friendly Versatility
Product Highlights: Cruelty-free formula with multiple design possibilities. Works with UV polish, acrylic, and natural nails. Affordable and beginner-friendly.
Step-by-Step for Makartt Marble Effect: Prep nails with a base coat and cure. Apply a base gel polish layer; cure. Add a thin, uncured layer of Makartt Blooming Gel. Use a brush to draw your marble design; the gel will disperse beautifully. Cure under UV/LED light and finish with a glossy top coat.
Pro Tip: Experiment with different tools and techniques to create unique, eye-catching marble effects for any occasion.
Why Marble Nails Are a Must-Have Design
Marble nails are timeless, elegant, and versatile, making them perfect for every client. With blooming gels, achieving this intricate design has never been easier. Whether you’re working with Mylee, TGB, Gelish, or Makartt, these products ensure professional-grade results that will wow your clients.
Final Tips for Nail Artists
• Always prep the nails thoroughly for better adhesion and longevity. • Experiment with different color combinations to find your signature marble style. • Practice on nail tips or palettes before working on clients. • Use quality tools like dotting tools and fine brushes for precision. • Offer customization options to keep clients engaged and excited.
By mastering the marble effect with blooming gels, you can elevate your nail artistry and keep clients coming back for more. Whether you’re a seasoned pro or a beginner, these products and tips will help you create stunning nail designs that stand out.
Ready to put your new blooming gel to the test? Dive into our Marble Nail Designs page for endless inspiration! Discover creative ideas, stunning patterns, and pro tips to perfect your marble effect.