fall-wedding_1727450950.webp)
_1741468616.webp)
_1742716277.webp)
_1739715603.webp)
_1733384148.webp)
_1732506215.webp)
_1732592616.webp)
_1729430005.webp)
fall-wedding_1726432110.webp)
fall-wedding_1727032417.webp)
fall-wedding_1726956269.webp)
fall-wedding_1727450904.webp)
fall-wedding_1727453802.webp)
_1736531645.webp)
_1736277834.webp)
_1752850965.webp)
.webp)

French_1721217104.webp)
fall-wedding_1727450923.webp)

.webp)
.webp)


.webp)
_1729709385.webp)
_1732592608.webp)
.webp)
Outline_1722752445.webp)
_1736185504.webp)

_1729410070.webp)
fall-wedding_1727450901.webp)
_1752242066.webp)
.webp)
Cloud_1719315278.webp)
.webp)
.webp)
_1737233775.webp)
.webp)
.webp)
_1733198014.webp)
_1741468621.webp)
_1736224579.webp)
.webp)
.webp)
_1732593908.webp)
_1732593924.webp)
.webp)

_1734237783.webp)
.webp)
fall-wedding_1726955221.webp)
.webp)
.webp)
Brown_1722075911.webp)
.webp)

.webp)
.webp)
_1732506205.webp)

_1732506203.webp)


.webp)
.webp)
.webp)
.webp)
_1736279430.webp)

_1734092572.webp)
_1731095198.webp)
fall-wedding_1726953136.webp)
_1752389027.webp)
_1741599139.webp)
.webp)
.webp)


_1744669585.webp)
_1742716287.webp)

.webp)
.webp)

_1742544891.webp)
_1742716263.webp)
.webp)
_1738481971.webp)
_1742544934.webp)
_1740756789.webp)
_1741599015.webp)

_1732592594.webp)
_1732991787.webp)
_1733384169.webp)
Birthday_1719948705.webp)
Birthday_1719759162.webp)
nude_1731958515.webp)
_1730088239.webp)


_1731517035.webp)
Elegant Rumors Red Ombre Nails | Behr Color of the Year 2025 - NB6379
_1731517004.webp)
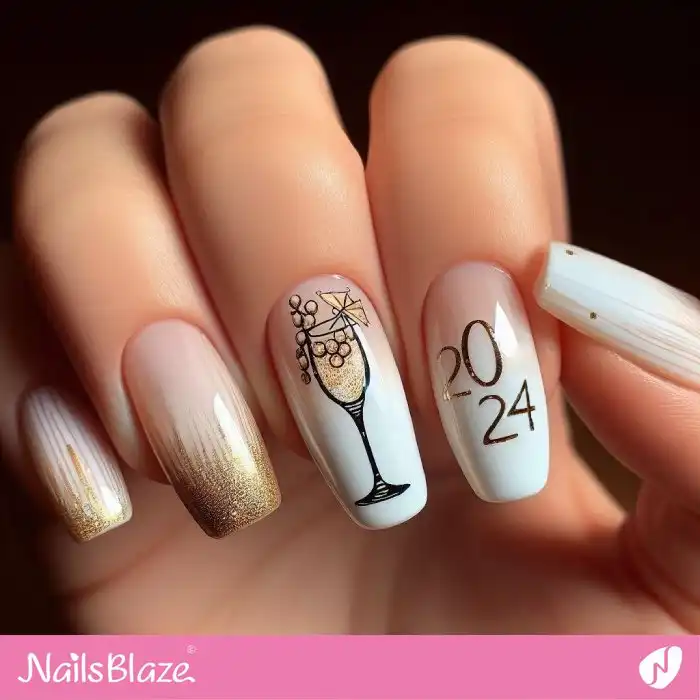
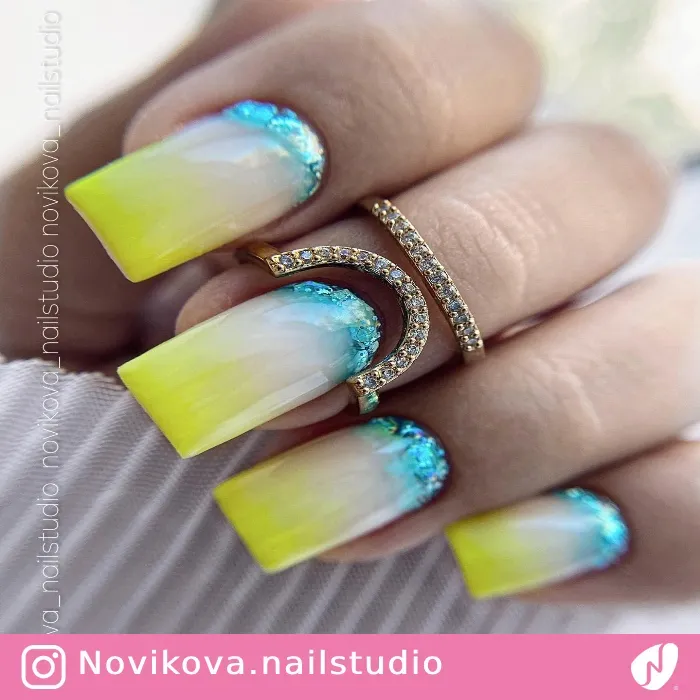
Glossy Rumors Ombre Nails | Behr Color of the Year 2025 - NB6375
classy-fall_1731324936.webp)
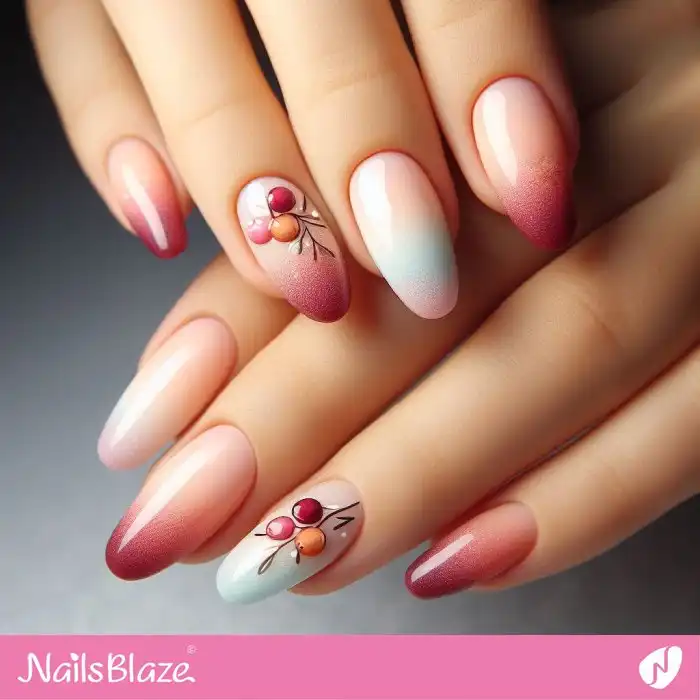
Classy Ombre Nails for Fall | Classy Autumn Nails - NB6341
_1731095334.webp)
Ombre Gray Nails Wheat Design | Thanksgiving Harvest Nails - NB6332
_1731095311.webp)
Almond Ombre Nails for Autumn | Thanksgiving Harvest Nails - NB6330
_1731095287.webp)
Fall Purple Ombre Nails Design | Thanksgiving Harvest Nails - NB6325
_1731095234.webp)
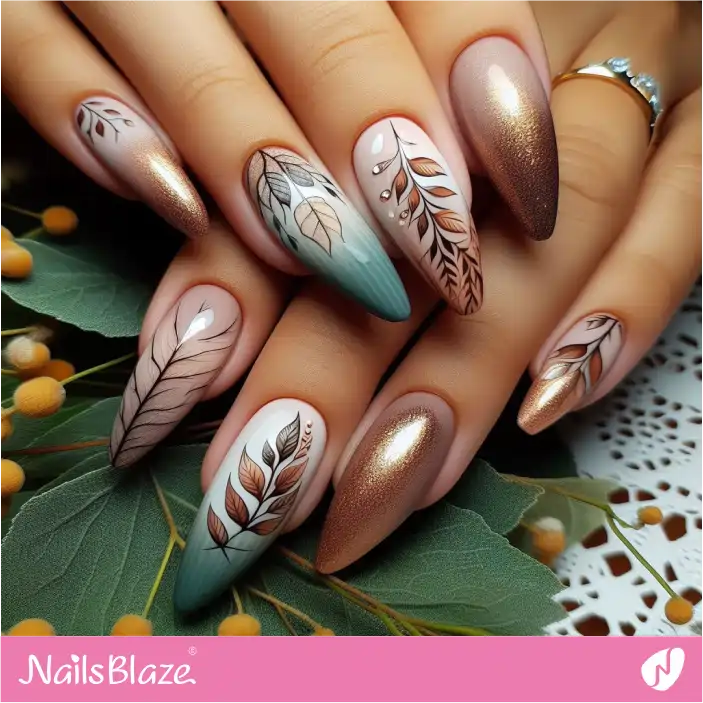
Ombre Nails Fall Leaves Design | Thanksgiving Harvest Nails - NB6319
_1731095216.webp)
Middle Ombre Nails with Wheat | Thanksgiving Harvest Nails - NB6317
_1731095184.webp)
Sunny Ombre Nails | Thanksgiving Harvest Nails - NB6312
_1731095162.webp)
Wheat Design for Classy Ombre Nails | Thanksgiving Harvest Nails - NB6309
_1731095451.webp)
Wheat Design for Brown Ombre Nails | Thanksgiving Wheat Nails - NB6286
_1730664696.webp)
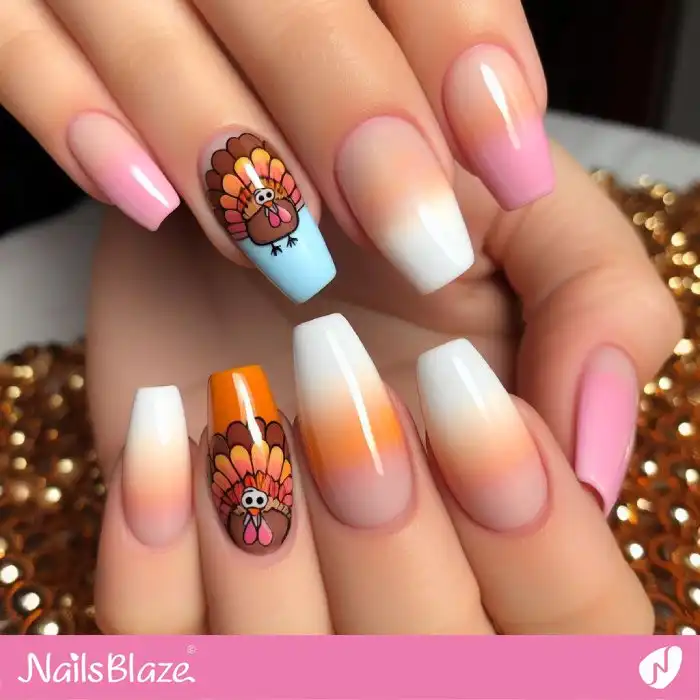
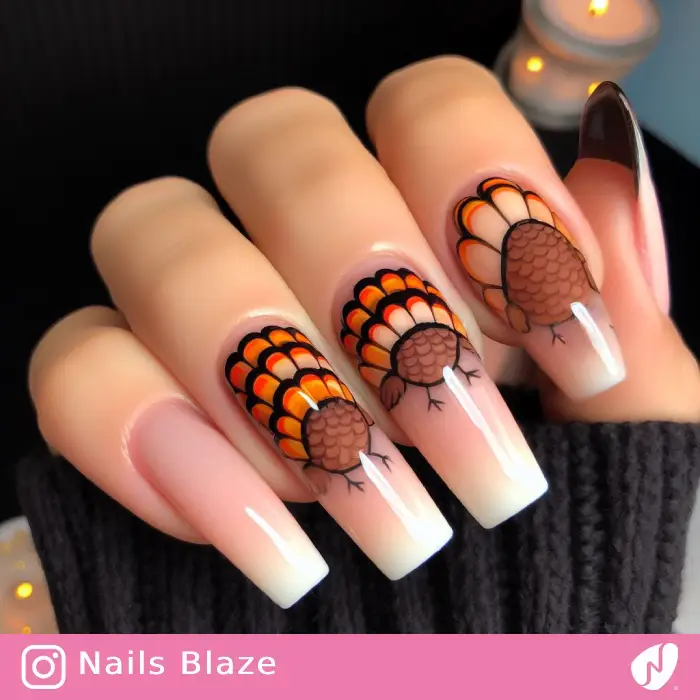
Long Ombre Nails with a Turkey | Thanksgiving Turkey Nails - NB6252
_1730664682.webp)
Ombre Tips and Turkey Accents | Thanksgiving Turkey Nails - NB6249
_1730664158.webp)
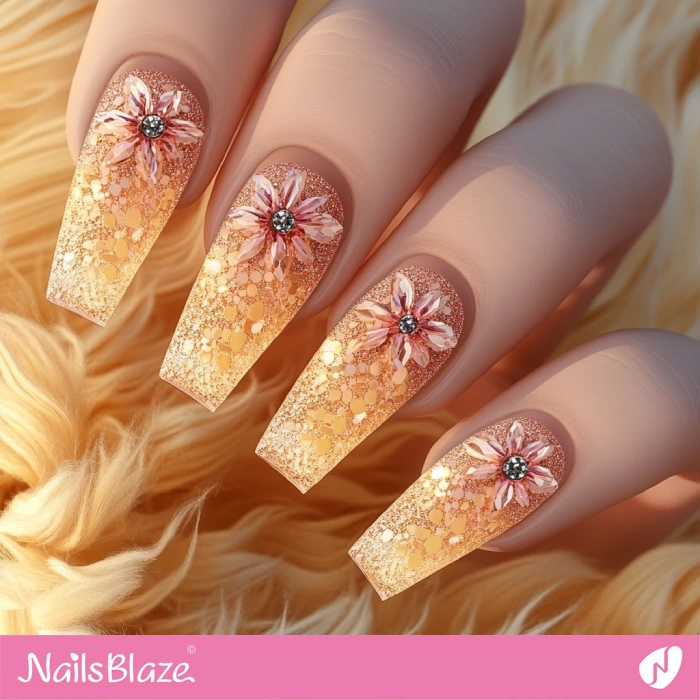
Sunflower Design for Beautiful Ombre Nails | Thanksgiving Sunflower Nails - NB6233
_1730664103.webp)
Ombre Orange Nails with Sunflowers | Thanksgiving Sunflower Nails - NB6230
_1730664057.webp)
Fall Ombre Nails with Pumpkins | Thanksgiving Pumpkin Nails - NB6224
_1730664042.webp)
Subtle Speckle Ombre Nails with Pumpkin | Thanksgiving Pumpkin Nails - NB6220
_1730664025.webp)
Ombre Harvest Theme Nails with Pumpkin | Thanksgiving Pumpkin Nails - NB6216
_1730663710.webp)
Ombre Yellow Nails and 3D Corn Accent | Thanksgiving Corn Nails - NB6188
_1730663701.webp)
Corn Design for Ombre Glitter Nails | Thanksgiving Corn Nails - NB6186
_1730193528.webp)
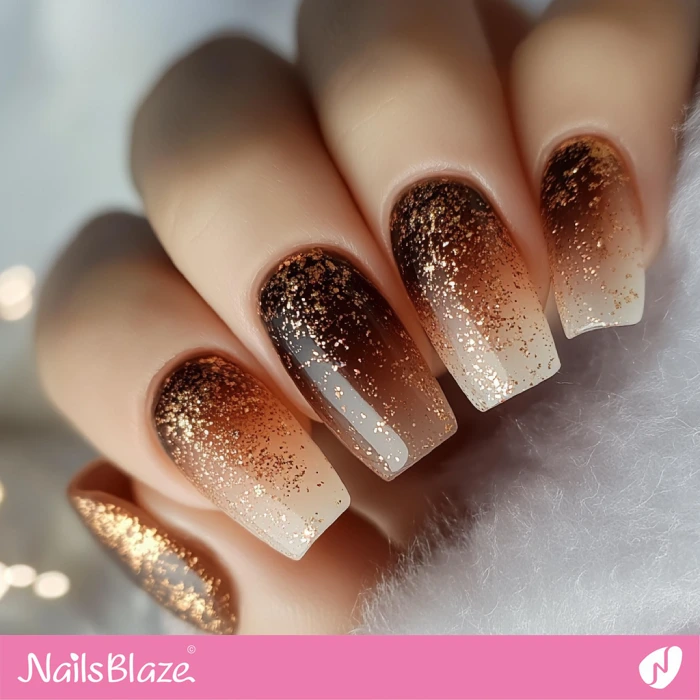
Brown Ombre Nails with Foil Details | Classy Birthday Nails - NB6158
_1730201688.webp)
Classy and Simple Cinnamon Ombre Nails | Cinnamon Nails - NB6143
_1730201526.webp)
Cinnamon and Blue Chrome Ombre Nails | Cinnamon Nails - NB6135
_1730201522.webp)
Cinnamon and Chowning's Tan Ombre Nails Design | Cinnamon Nails - NB6133
_1730088240.webp)
Ombre and Subtle Speckle Nails Balloon Design | Birthday Balloon Nails - NB6049
_1730001329.webp)
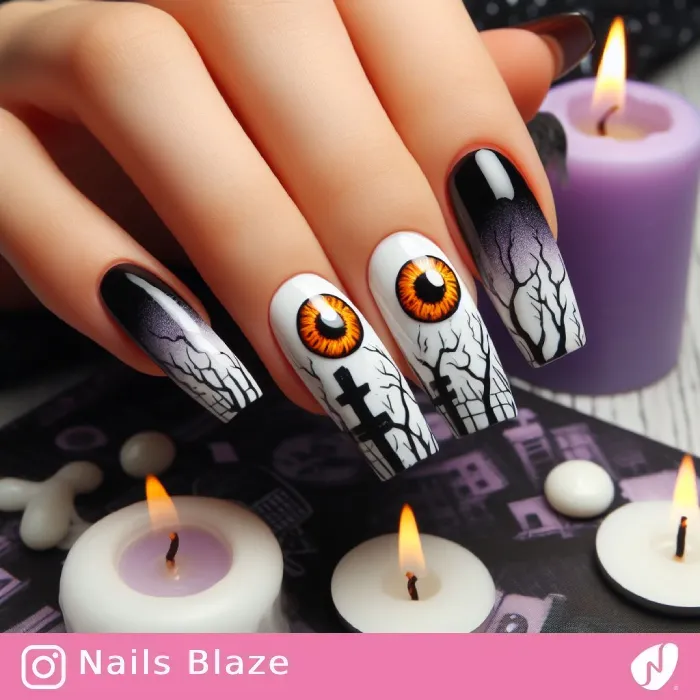
Red Ombre Nails with Crosses | Halloween Cross Nails - NB6045
_1730001247.webp)
Red Ombre Nails Cross Design | Halloween Cross Nails - NB6028
_1729709268.webp)
Vampire Ombre Red Nails | Halloween Vampire Nails - NB6009
_1729684219.webp)
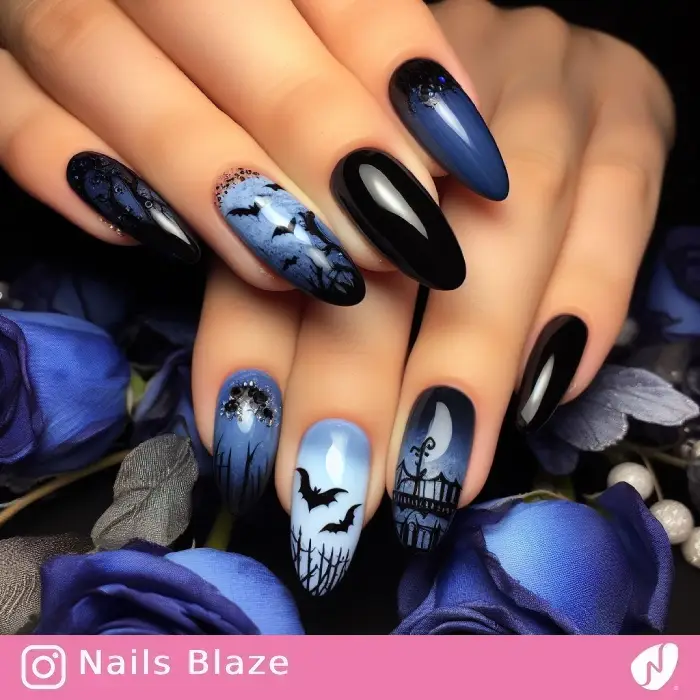
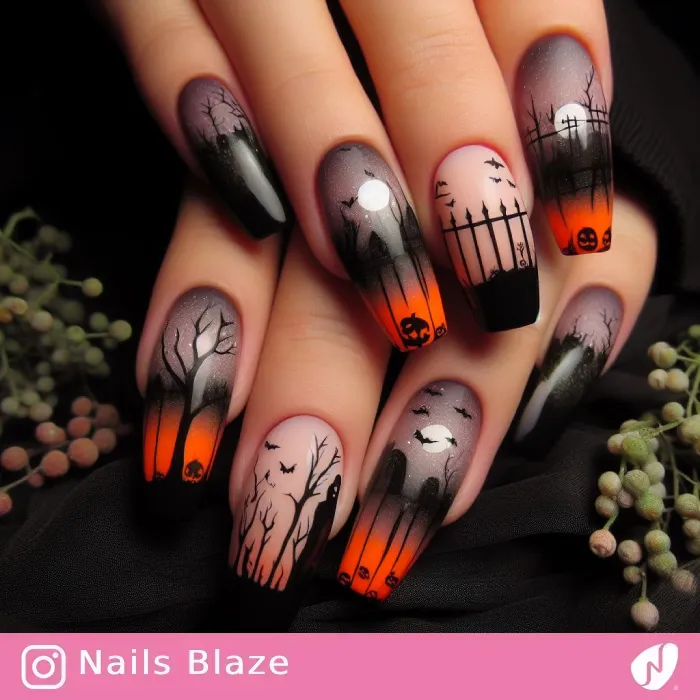
Ombre Full Moon Nails with Bats | Bat Halloween Nails - NB5987
_1729338886.webp)
Witch Hat Design for Ombre Nails | Halloween Witch Nails - NB5924
_1729338866.webp)
Easy Witch Design for Ombre Nails | Halloween Witch Nails - NB5921
_1729338838.webp)
Ombre Nails Design with Flying Witch | Halloween Witch Nails - NB5916
_1729338813.webp)
Witch Theme Ombre Nails | Halloween Witch Nails - NB5911
_1729335572.webp)
Black Cat on Fire Ombre Nails | Halloween Cat Nails - NB5909
_1729333790.webp)
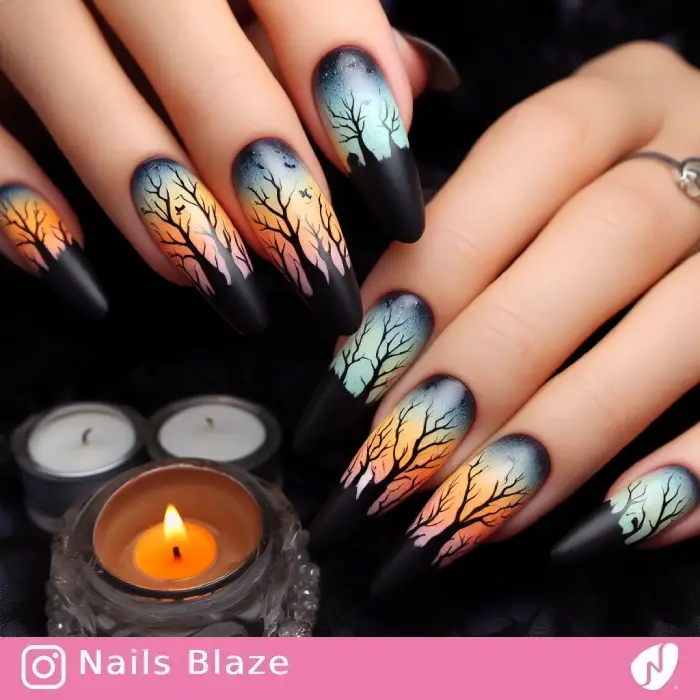
Scary Tree Design for Ombre Nails | Halloween Scary Tree Nails - NB5907
_1728333852.webp)
Brown Ombre Nails Design with Spider | Halloween Spider Nails - NB5852
_1728333849.webp)
Ombre Spider Web Nails Design | Halloween Spider Nails - NB5851
_1728333848.webp)
Ombre Glitter Nails Spider Design | Halloween Spider Nails - NB5850
_1728333572.webp)
Pumpkin Design for Black and Orange Ombre Nails | Halloween Pumpkin Nails - NB5832
_1728333111.webp)
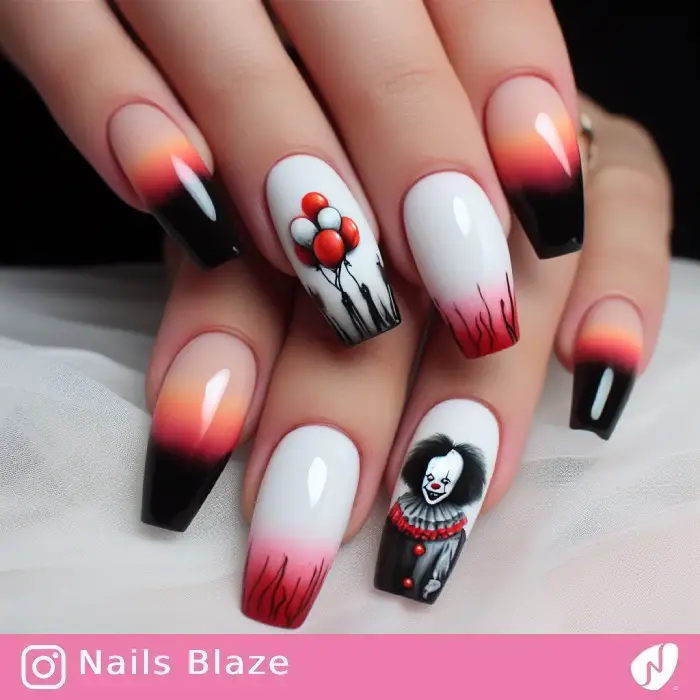
Ombre Nails Clown Design for Halloween | Halloween Clown Nails - NB5793
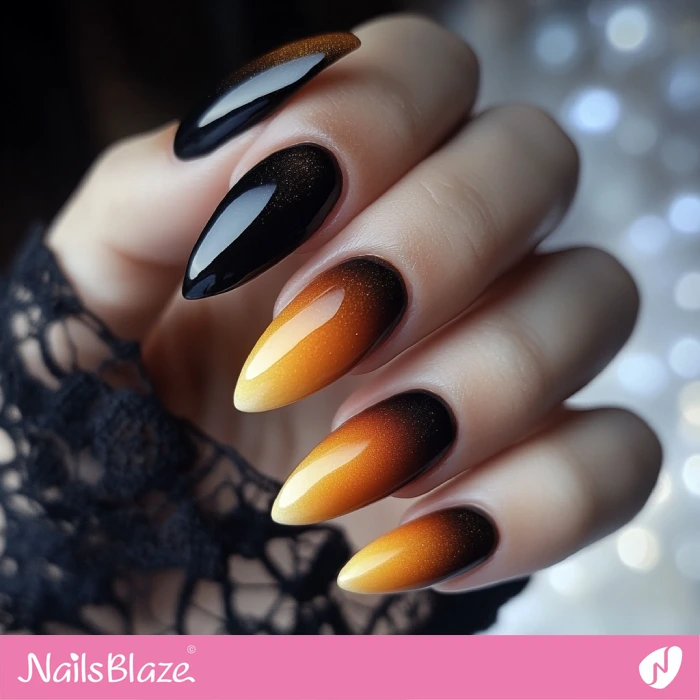
Glossy Pumpkin Spice Ombre Nails | Fall Nails - NB5764
Embellished Cinnamon Ombre Nails | Fall Nails - NB5763
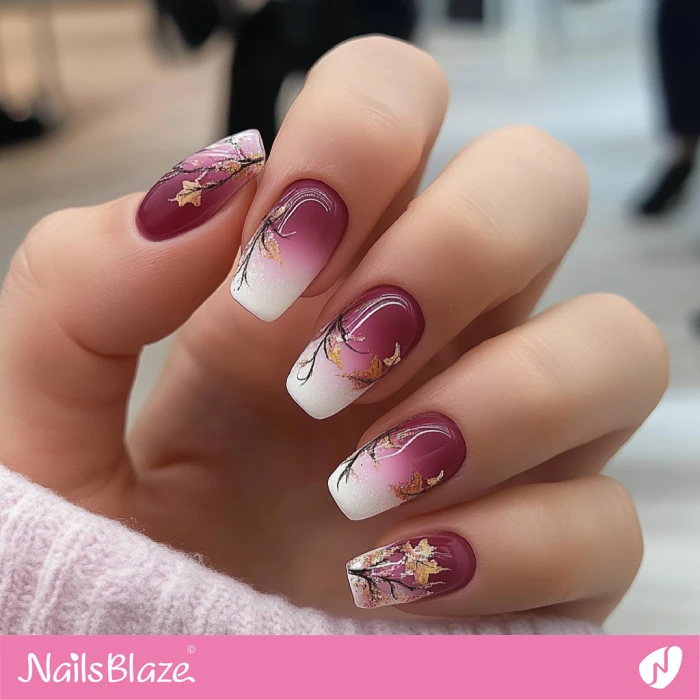
Plump Plum Ombre French Nails with a Twist of Fall | Fall Nails - NB5755

Pumpkin Spice Color Ombre Nails with Matte Finish | Fall Nails - NB5747
fall-wedding_1727453837.webp)
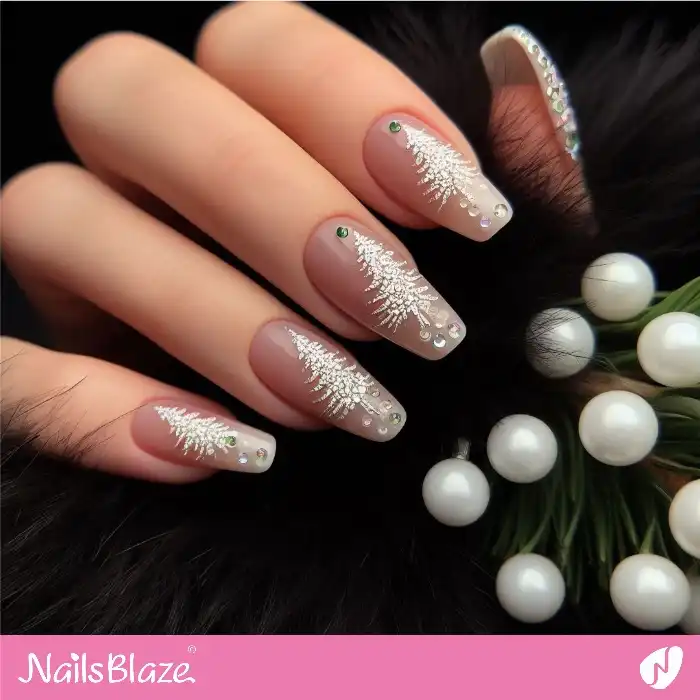
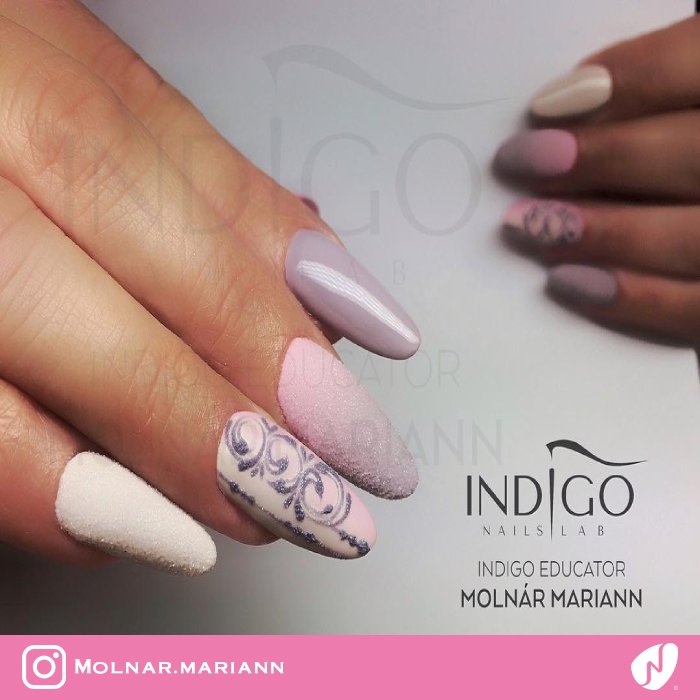
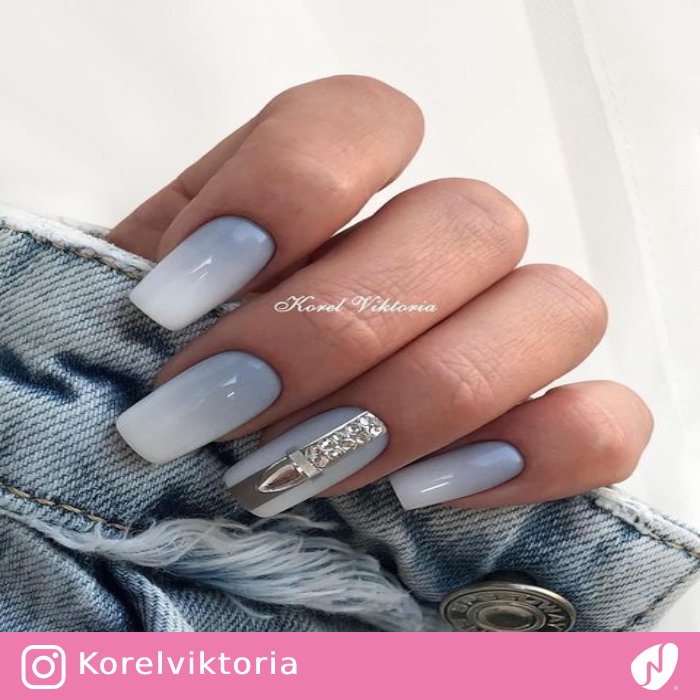
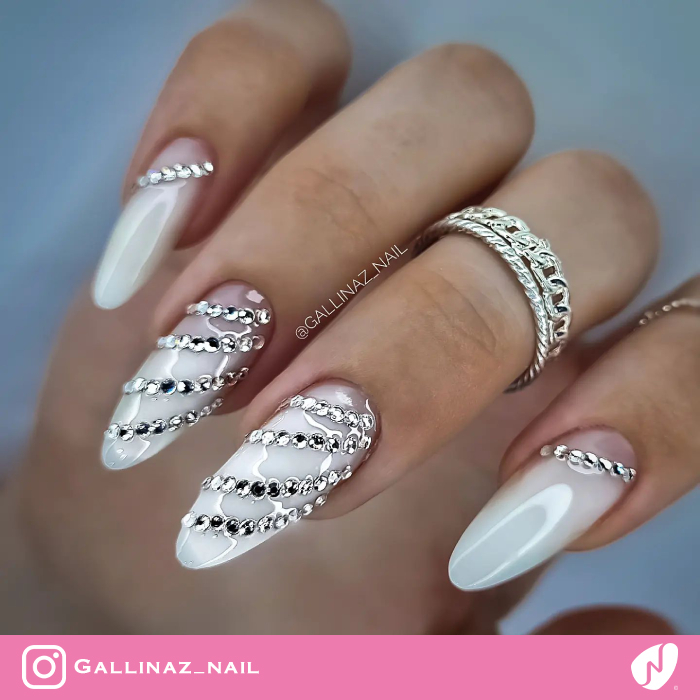
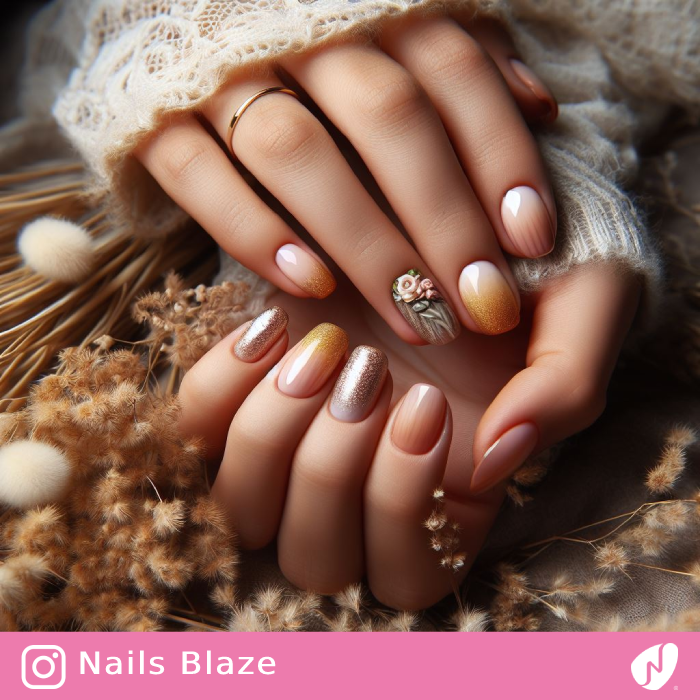
Fall Wedding Gray Ombre Nails with Embellishment | Fall Nails - NB5702