_1728333795.webp)
.webp)
.webp)
_1729172758.webp)
_1730096108.webp)
_1735737894.webp)
.webp)
_1752951069.webp)
fall-wedding_1726955242.webp)
fall-wedding_1727450912.webp)
fall-wedding_1727450947.webp)
fall-wedding_1726432097.webp)
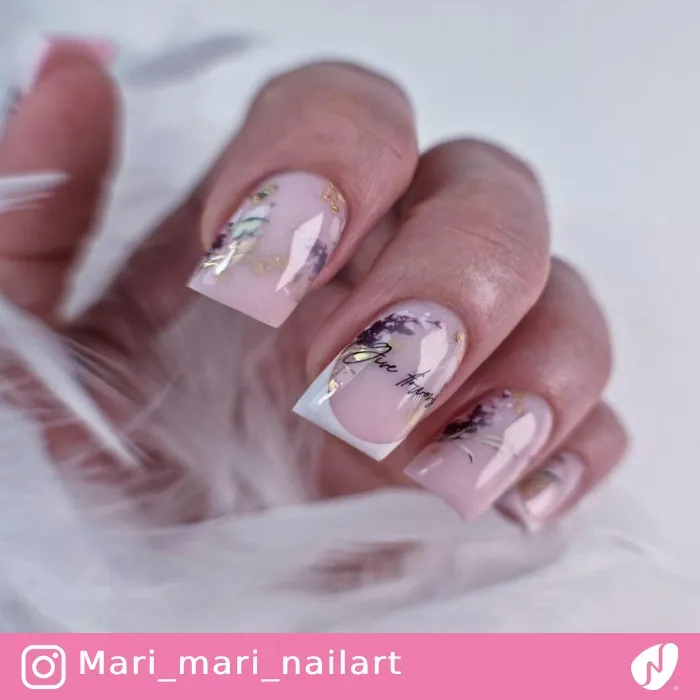
.webp)
.webp)


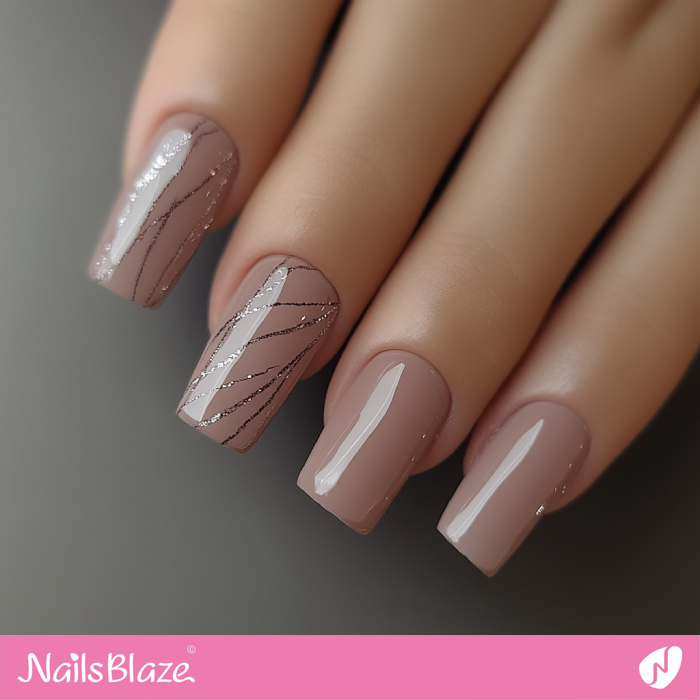
nude_1731958524.webp)
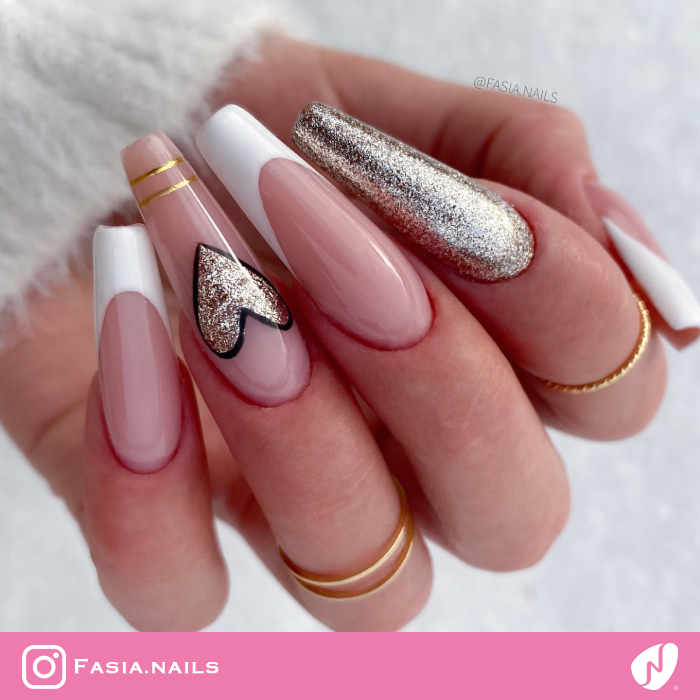
Glossy Nude Nails with Rhinestones and Glitters | Nude Birthday Nails - NB6442
_1731517004.webp)
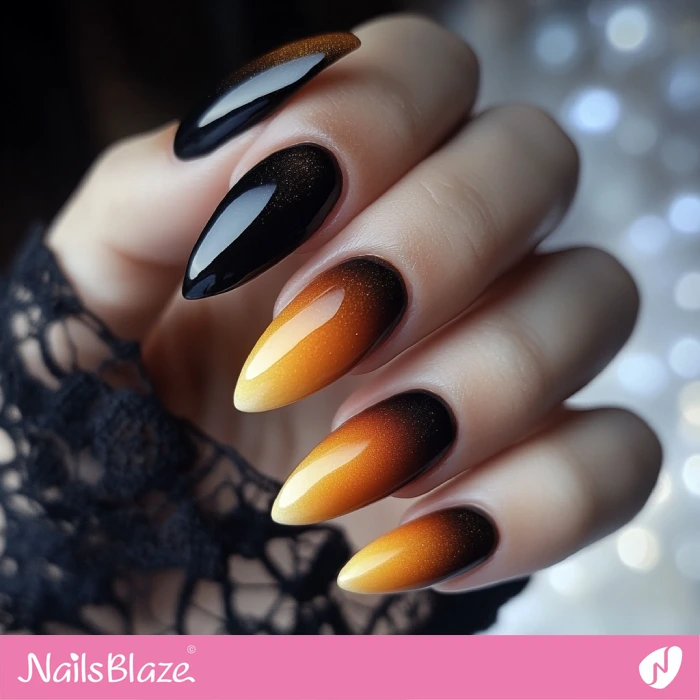
Glossy Rumors Ombre Nails | Behr Color of the Year 2025 - NB6375
classy-fall_1731324933.webp)
Glossy Nails with Fall Leaves Tips | Classy Autumn Nails - NB6339
_1731095341.webp)
Harvest Theme Short Glossy Nails | Thanksgiving Harvest Nails - NB6333
_1731095303.webp)
Short Glossy Nails Golden Wheat Design | Thanksgiving Harvest Nails - NB6328
_1731095227.webp)
Glossy Nails Autumn Flowers Design | Thanksgiving Harvest Nails - NB6318
_1730963550.webp)
Stylish Glossy Pink Nails with Acorn | Thanksgiving Acorn Nails - NB6279
_1730963544.webp)
Glossy Nails Acorn Design | Thanksgiving Acorn Nails - NB6276
_1730963526.webp)
Glossy Fall Nails with Acorn | Thanksgiving Acorn Nails - NB6267
_1730748955.webp)
Glossy Turkey Nails with Shimmer Accents | Thanksgiving Turkey Nails - NB6254
_1730664638.webp)
Short Glossy Sunflower Nails | Thanksgiving Sunflower Nails - NB6248
_1730664598.webp)
Sunflower Design for Glossy Orange Nails | Thanksgiving Sunflower Nails - NB6238
_1730865520.webp)
Glossy Neutral Nails with Sunflowers | Thanksgiving Sunflower Nails - NB6237
_1730193504.webp)
Glossy Black Nails with Golden Lines | Classy Birthday Nails - NB6148
_1730097139.webp)
Long Glossy Nails with Stars for Birthday | Birthday Star Nails - NB6074
_1730089481.webp)
Glossy Stiletto Nails Confetti Design | Birthday Confetti Nails - NB6055
_1729172773.webp)
Short Glossy Nails Brain Design | Halloween Brain Nails - NB5890
_1729172765.webp)
Glossy Abstract Brain Nails for Halloween | Halloween Brain Nails - NB5886
_1728391754.webp)
Glossy Halloween Nails with Monster Eyes Design | Halloween Monster Nails - NB5820
Glossy Pumpkin Spice Ombre Nails | Fall Nails - NB5764
fall-wedding_1726956263.webp)
Glossy Brown Almond Nails for Fall Wedding | Fall Nails - NB5654
fall-wedding_1726955213.webp)
Luxury and Glossy Fall Wedding Nails | Fall Nails - NB5645
fall-wedding_1726432093.webp)
Glossy Ombre Nails Design for Fall Wedding | Fall Nails - NB5608
Classy_1726232375.webp)
Classy and Glossy Pink Nails Swirl Design | Classy Nails - NB5583
Classy_1726232355.webp)
Glossy Pink Nails Swirl Design | Classy Nails - NB5580
abstract_1725456215.webp)
Short Glossy Nails Abstract Design | Abstract Nails - NB5498
abstract_1725456188.webp)
Glossy Abstract Nails with Neon Dots | Abstract Nails - NB5493
_1723801347.webp)
Glossy Watercolor Theme Nails Design | Watercolor Nails - NB5446
Outline_1722863138.webp)
Glossy Pastel Nails with Gold Edges Design | Outline Nails - NB5436
Outline_1722863124.webp)
Glossy Black Nails with Pastel Borderline | Outline Nails - NB5431
Outline_1722863107.webp)
Glossy Nails with Rhinestone Design Edges | Outline Nails - NB5424
Outline_1722863082.webp)
Glossy Pink Nails with Glitter Edges Design | Outline Nails - NB5415
Outline_1722863028.webp)
Gold Borderlines for Glossy Pearly White Nails | Outline Nails - NB5398
Mermaid_1722324495.webp)
Glossy Mermaid Chrome Nails Design | Chrome Nails - NB5336
Brown_1722076019.webp)
Glossy Brown Chrome Nails | Chrome Nail Art - NB5327
Black_1721212175.webp)
Sunflower Design for Glossy Black Nails | Sunflower Nails - NB5246
Birthday_1719948724.webp)
Birthday Glossy Blue Nails with Confetti | Birthday Nails - NB5152
Birthday_1719759171.webp)
Glossy Pink Birthday Nails Design | Birthday Nails - NB5093
Glossy Boomer Nails Glitter Design | Baby Boomer Nails - NB5050
Glossy Baby Boomer Nails with Rhinestones | Baby Boomer Nails - NB5036
Black Drips on Glossy Nails | Drip Nails - NB5004
Glossy Nails with 3D Polka Dots | Dot Nails - NB4990
Glossy Mermaid Glitter Nails Design | Glitter Nails - NB4969
Glossy Ombre French Nails with Blue Polka Dots | Dot Nails - NB4962
Glossy Nails Rhinestone Design | Embellished Nails - NB4953